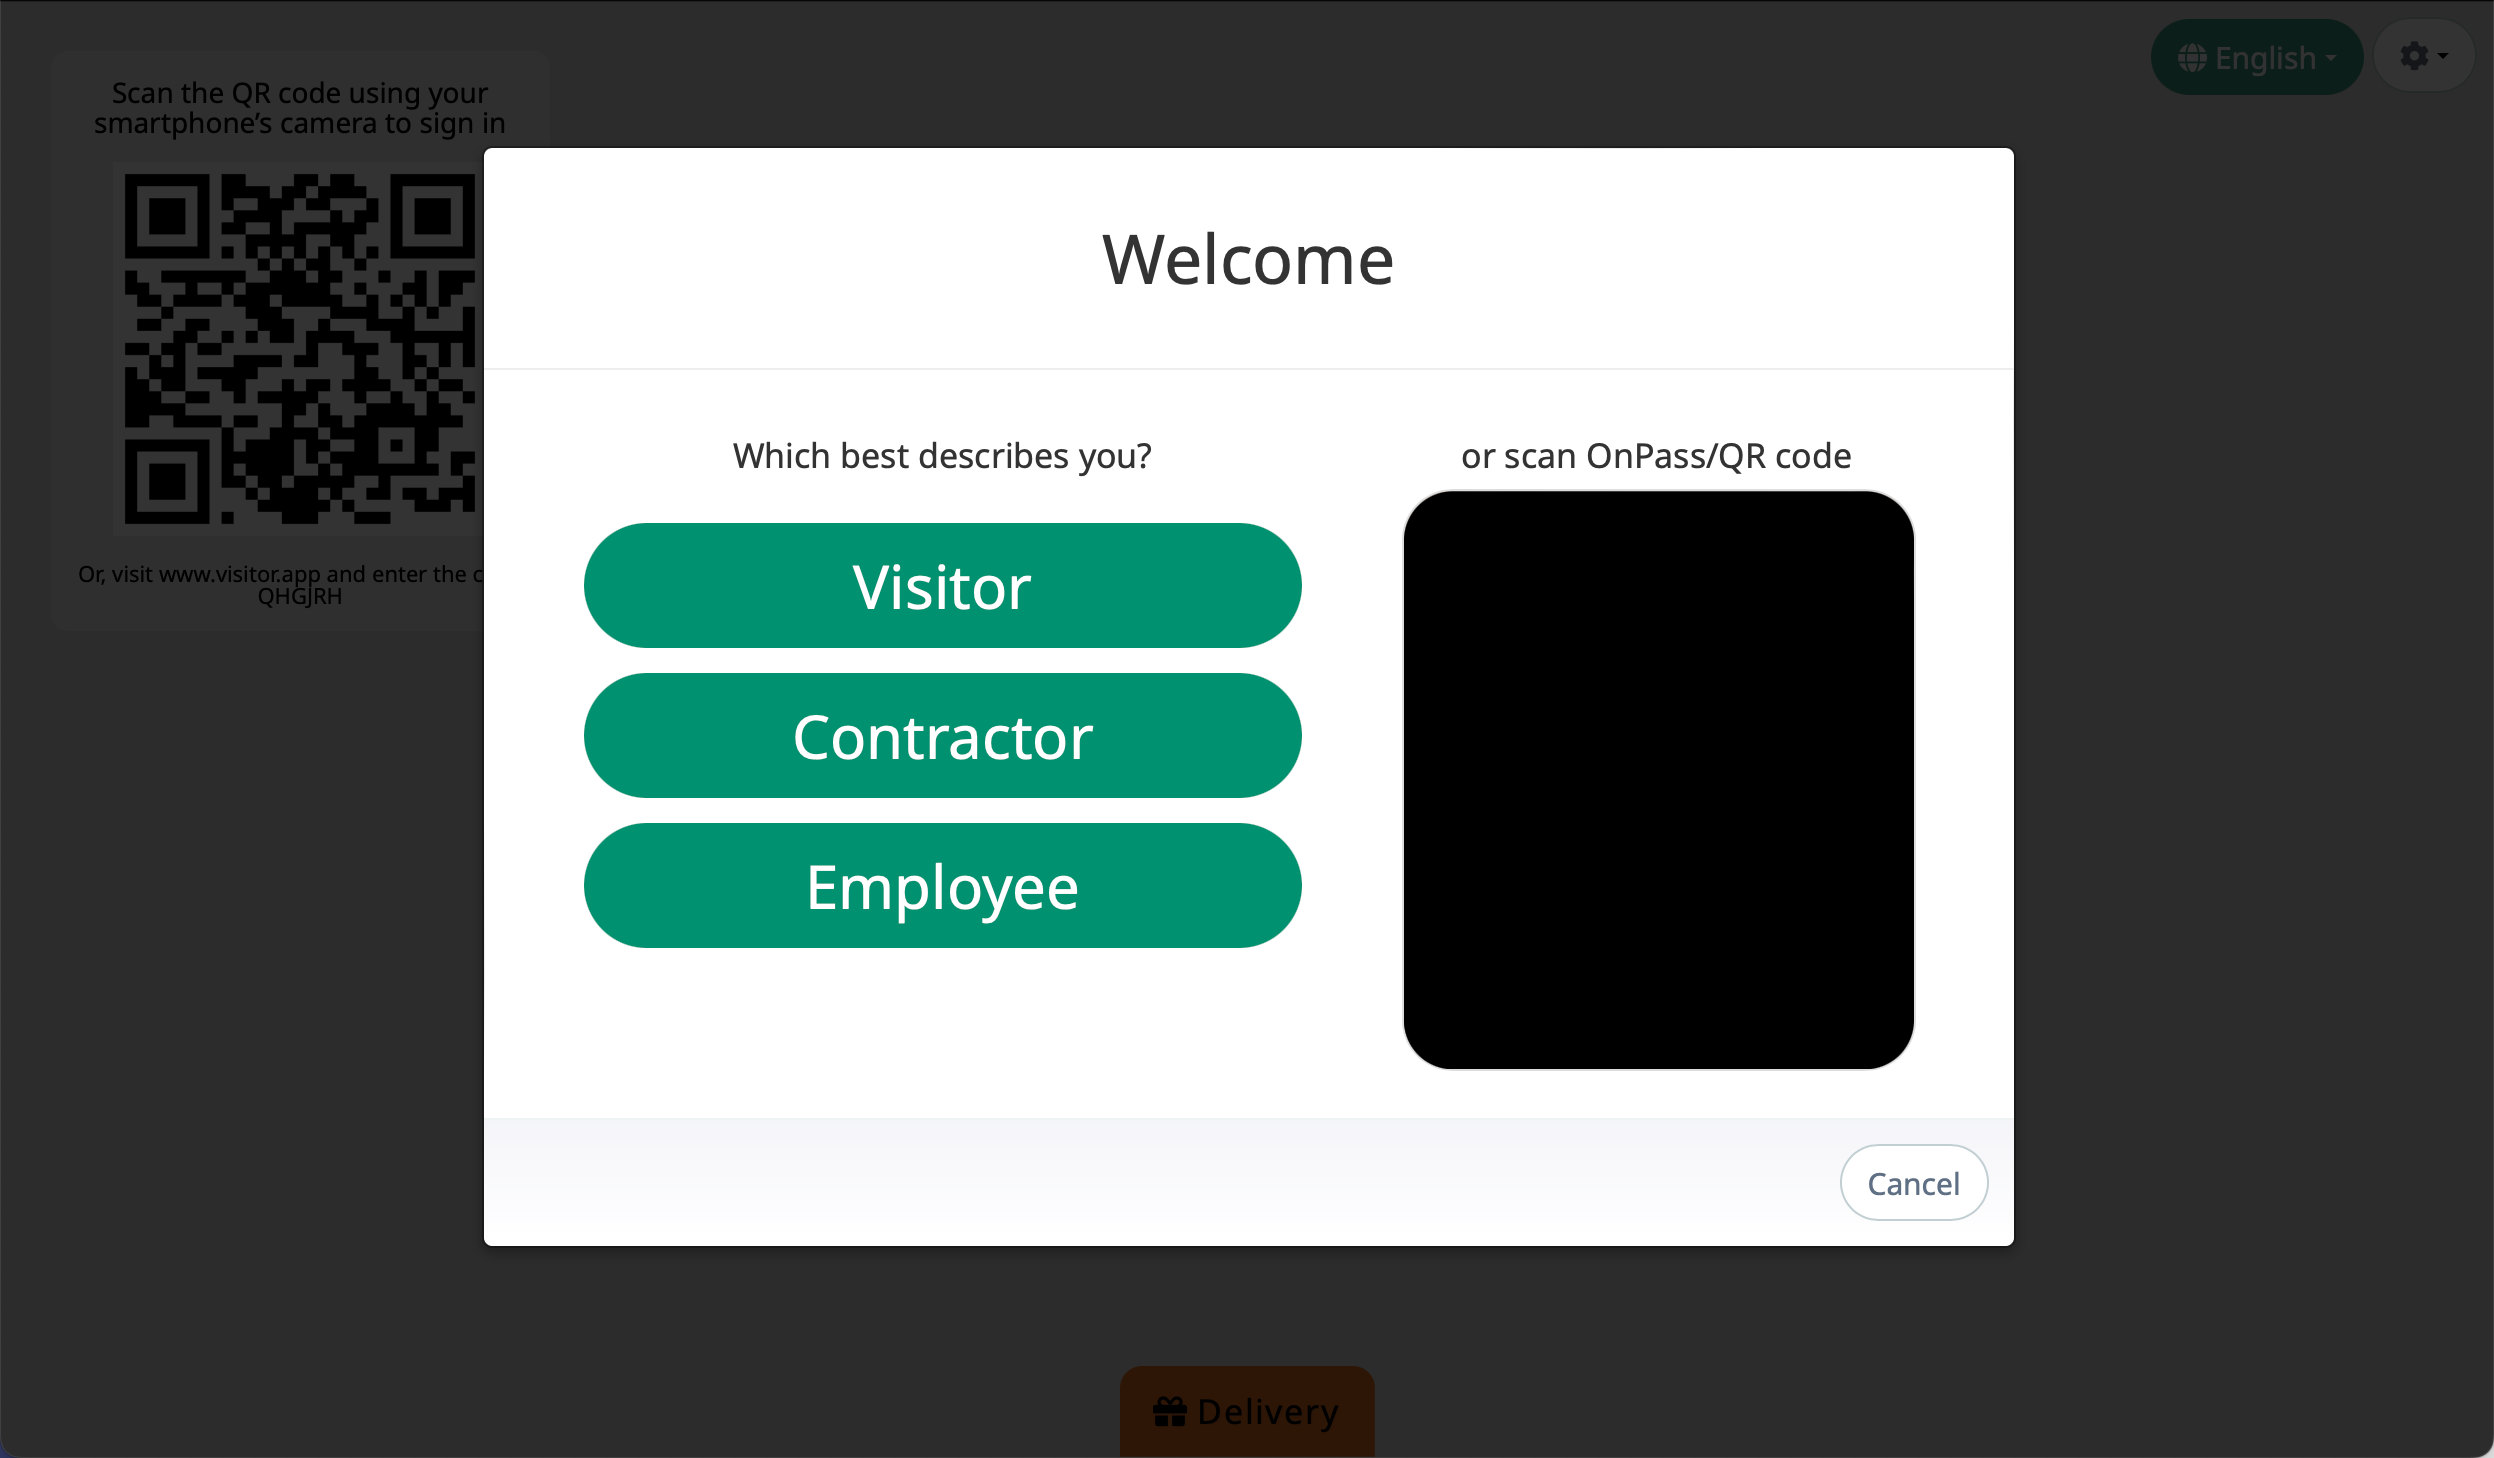
How it works
If you use QR code scanning to sign in/out visitors, contractors, or employees, use your kiosk's front-facing camera to scan an OnPass, tokens, and badge passes.
When a guest arrives on-site:
- They tap Sign In.
- They hold their QR code up to the camera.

- The kiosk registers the code and finds the person in the system.
- The sign in process will then depend on your settings. They will either be signed in or presented with a set of questions to answer.
When signing out, the person can use the same method to sign out by tapping Sign Out and scanning their QR code.
Technical requirements
Camera scan works on both Windows and iPad kiosks. It's compatible with kiosks running on:
- OnLocation Kiosk for iOS
- Chrome
- Firefox
- Edge
All kiosks run through a web browser will need to give MRI OnLocation permission to use the device's camera.
It will only scan QR codes, not barcodes. If you use both QR codes and barcodes for sign in/out, connect an external scanner instead.
Enable kiosk camera scan
To set up camera scan for an existing kiosk:
- Go to Locations, then select the location from the drop-down list.
- Select Sign In/Out Kiosks.
- Click View next to your kiosk.
- Under Advanced Settings, select the Enable Kiosk Camera Scan checkbox.

- Click Save and Close.
Camera scan will be enabled on your kiosk immediately after it refreshes.