How it works
Any employee who can sign into multiple locations through global roaming can also pre-register visitors in those locations. You can add keywords to locations that are substitutes for the location name when creating a calendar invite.
Adding location keywords means that your employees don't have to enter the actual name of a location to pre-register guests there. This is useful if you want your calendar invites to have the names of buildings, meeting rooms, street names, or any other reference to the location.
This information shows in the calendar invite, not the visitor profile or OnPass (if enabled).
Add location keywords
To add keywords:
- Go to Tools > Account.
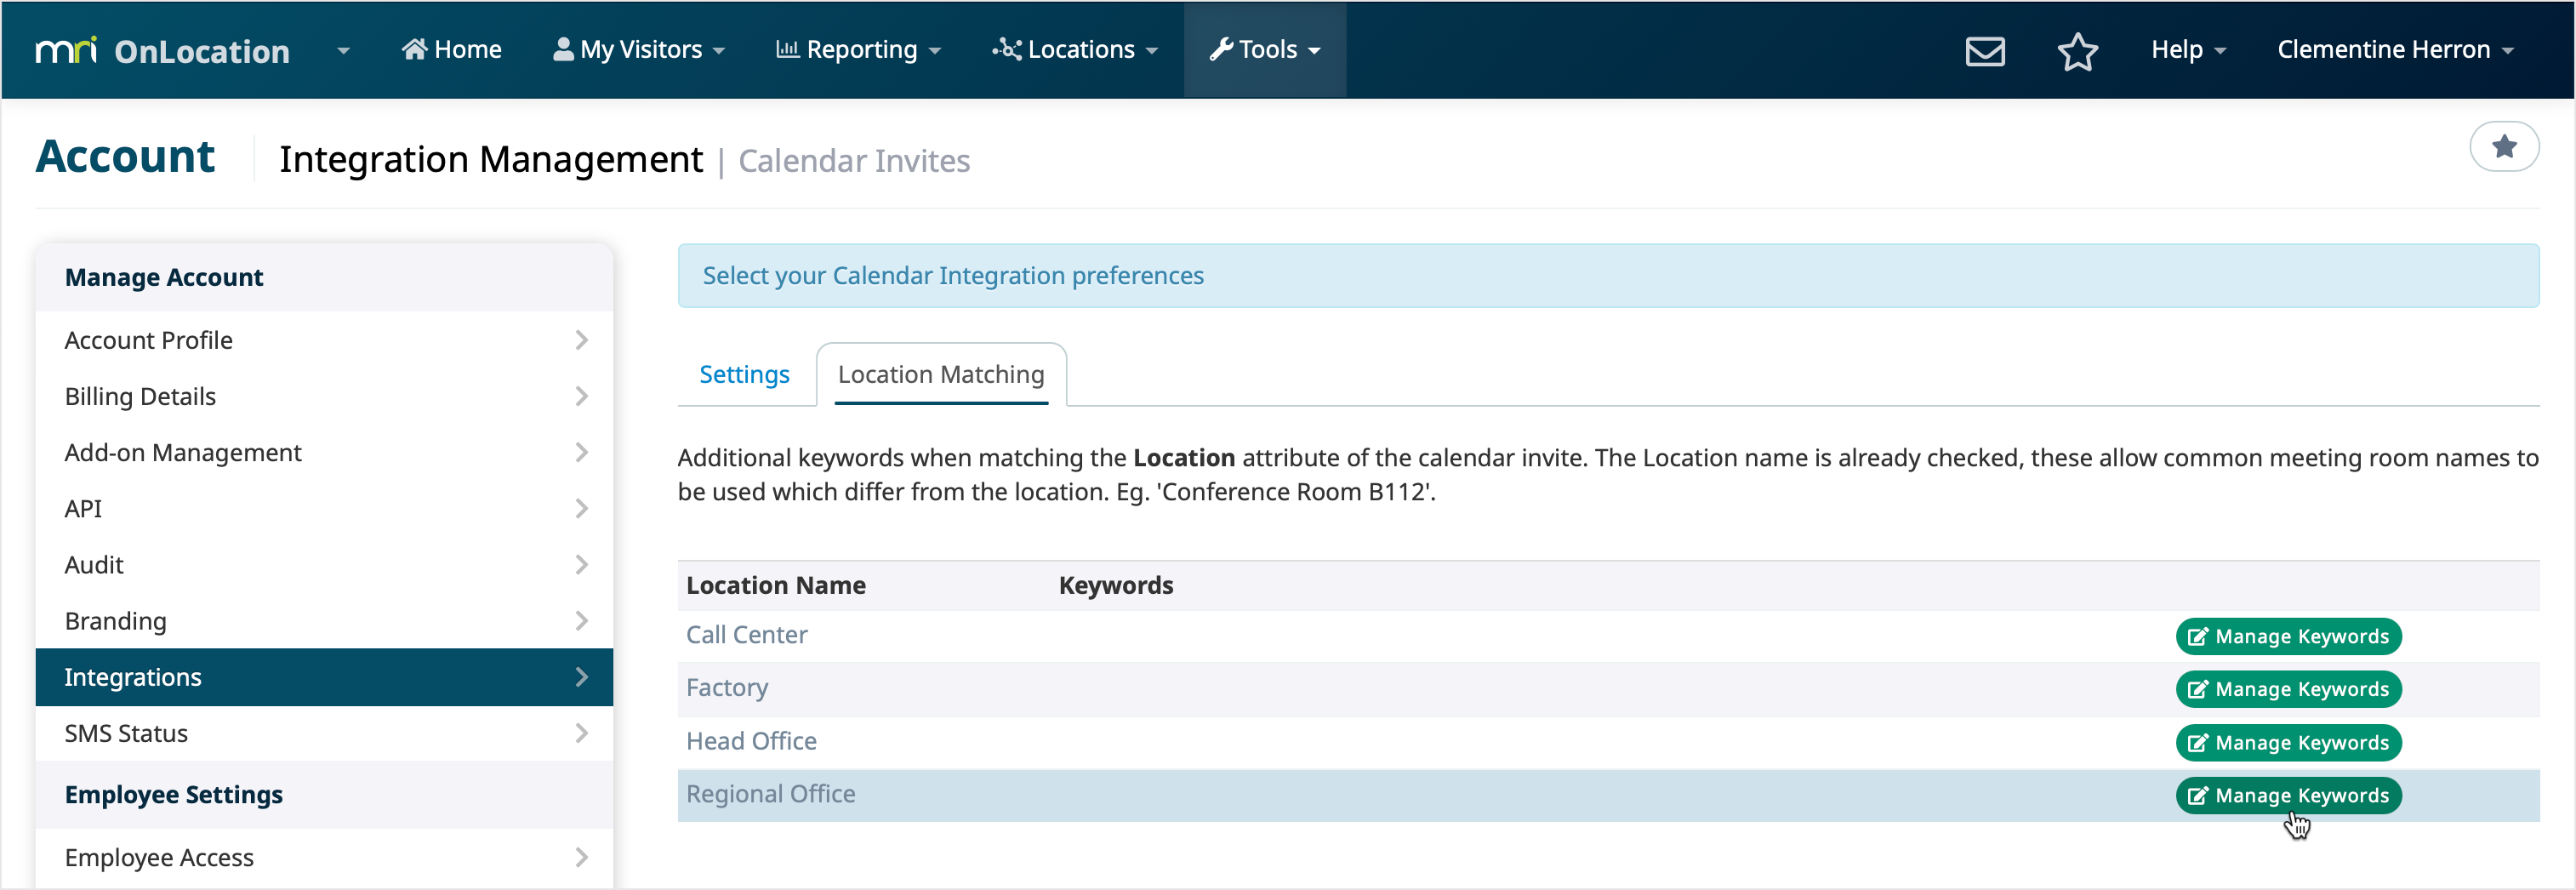
- Select Integrations from the left-hand menu.
- Select Calendar Invites.
- Click Settings.
- Select the Location Matching tab.
- Click Manage Keywords next to a location.
- Enter the keywords you want to be able to use instead of the location's name. Each Keyword must be on a separate line.
- Click Done.

Any keyword entered will now be matched to the corresponding location when added to the location field in a calendar invite.