Manage your insurance policies
It's important to maintain accurate and up-to-date records about your organization's insurance policies to ensure that you are covered in the worst-case scenarios. It is also important to let those businesses that you are contracting to know that you have these insurance policies in place, either for peace of mind or, in some cases, to gain access to their workplaces.
Some businesses require certain insurance policies to be up-to-date before your employees will be allowed to sign into their workplaces. This is fully up to each business to decide and, if you're not sure about their policy, you will need to discuss their policy with them.
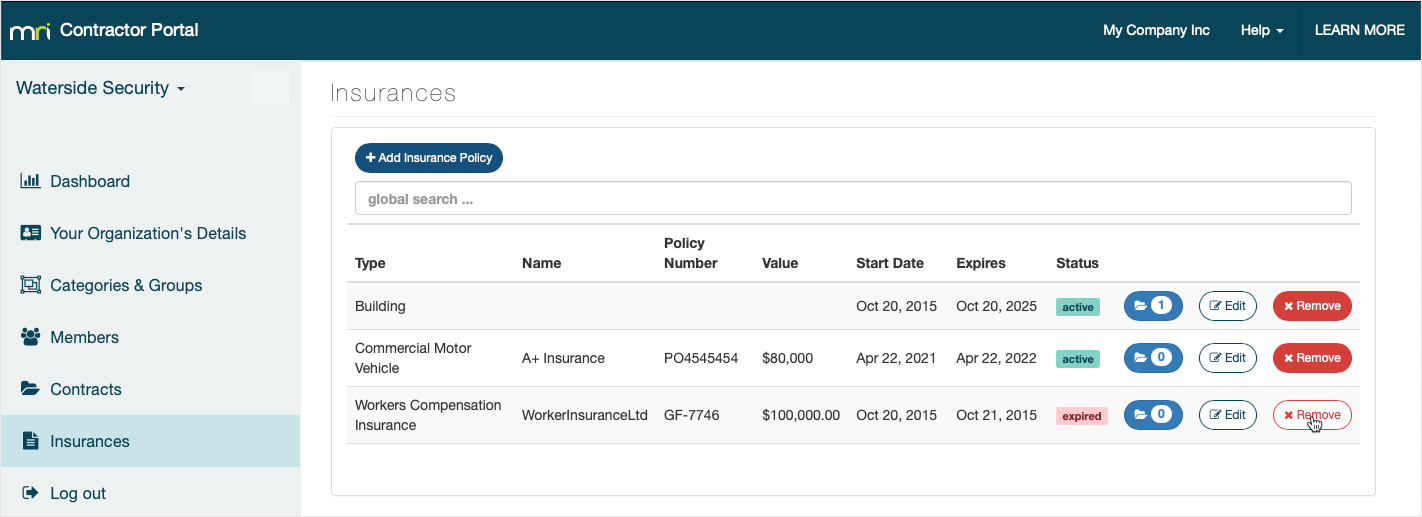
You can view, add, edit, or delete any of your organization's relevant insurance policies from the Insurances section of the Contractor Portal.
Add a new policy
To add a new insurance policy:
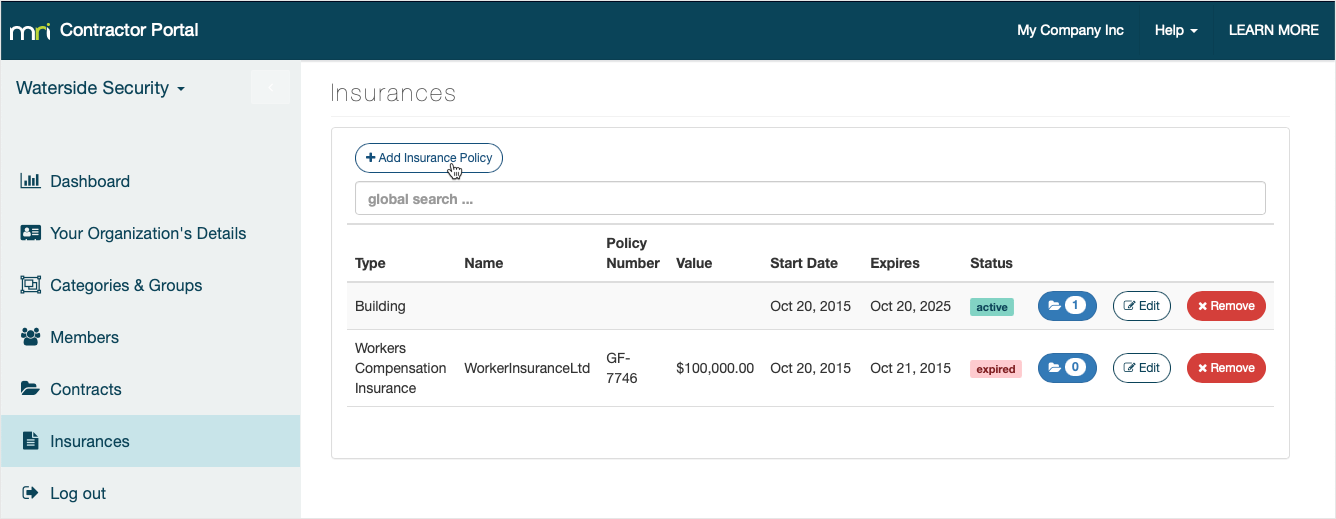
- Select Insurances in the menu on the left.
- Click Add Insurance Policy.
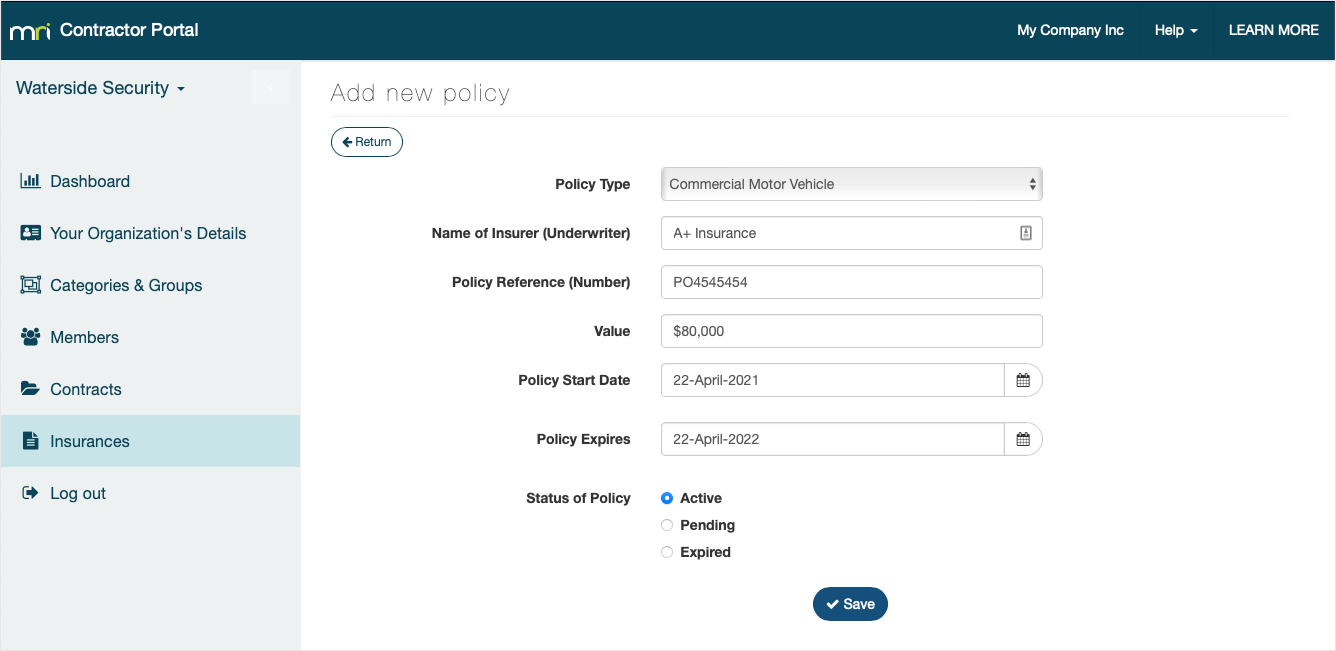
- Select the Policy Type. The options are controlled by the business you contract to and if you do not see your policy type in the list you will want to ask them to add it.
- Enter the Name of Insurer (Underwriter). This is the organization providing your insurance.
- Enter the Policy Reference (Number). This is the reference of your current policy.
- Enter the Value. This is the total coverage value of the policy.
- Select the Policy Start Date. This is the date the policy was issued.
- Select the Policy Expires date. This is the expiry date of the policy.
- Select the Status of Policy:
Active – policies that are currently active
Pending – policies that are not yet approved or relevant
Expired – historic policies that you want to keep a record of - Click Save to return to the Insurances list.
Edit a policy
To edit the details of these insurances, click Edit next to the insurance policy, make the required changes, and click Save.

Add supporting documents
If you need to add supporting documents, you can upload pdf, doc, docx, jpg, jpeg, png, or gif file types.
To add supporting documents to your insurances:
- Click the documents button next to the insurance policy.
- Click Add Document.
- Select a file from your computer and click Open.
The file will be automatically uploaded to the Contractor Portal and MRI OnLocation and linked to the insurance policy.
You can view uploaded documents from this page by clicking the View button next to a document. Delete a document by clicking the Remove button.
Click Return to go back to the Insurances list.
Delete a policy
To delete an insurance policy, click Remove next to the policy, then click OK in the confirmation pop-up.