How it works
OnScan is an iOS app that is used to quickly scan, capture, and store visitor’s photo ID. This adds a layer of security to the way you greet, manage, and maintain your on-site security.
The OnScan integration must be enabled by your Account Owner or IT Support user before it can be used to scan photo IDs.
There are four steps to using OnScan:
- Download the OnScan app from the App Store and install it on your iPhone or iPad
- Connect the OnScan app to Sign In/Out Manager
- Scan a visitor’s photo ID using OnScan
- Sign in the visitor in MRI OnLocation
Link OnScan to Sign In/Out Manager
When using OnScan, the first step is to link the OnScan app on your phone to your OnLocation account. This will tell the app where to send the data when a visitor’s photo ID is scanned.
On your computer
- Log in to OnLocation.
- Go to Tools > Sign In/Out Manager.
- Click the More Action menu.
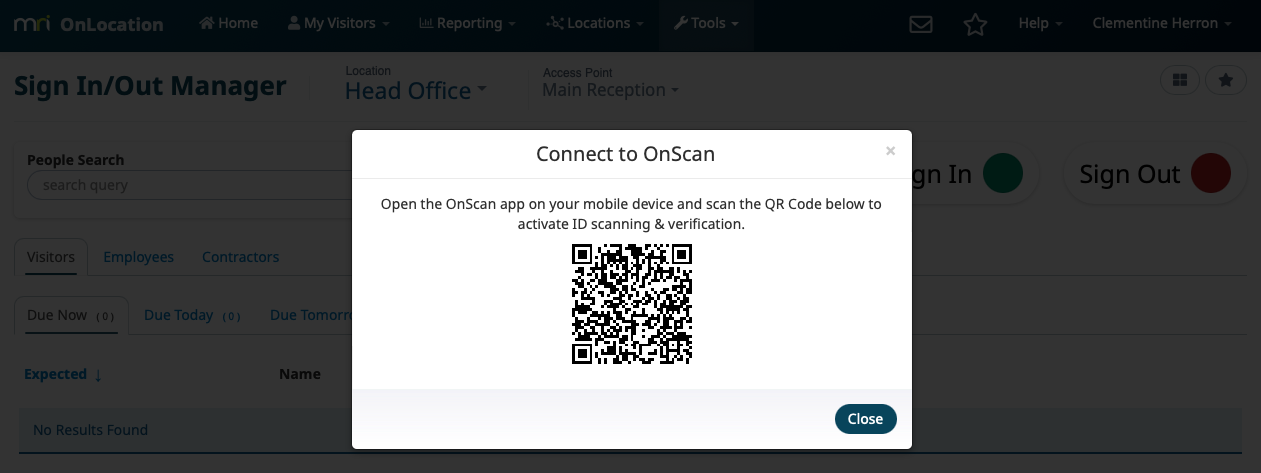
- Select Connect to OnScan.

This will display a QR code pop-up on the screen for you to scan with the OnScan app on your phone.
On your phone or iPad
- Download the OnScan app from the App Store and install it on your device
- Open OnScan.
- Tap Connect to OnLocation.
- Scan the QR Code on your computer with your phone.
OnScan will be linked to your OnLocation profile and the pop-up on your computer will close.
If you have multiple Sign In/Out Managers at your location, you will need to unlink OnScan from your OnLocation profile when you finish signing in visitors, whether at the end of the day or going on a break. To do so, tap Disconnect in the top-left corner of OnScan.
Scan a photo ID
Now your device is connected to your OnLocation profile, you can use OnScan to scan and record a visitor’s photo ID in your OnLocation account.
- Tap Scan ID.
- Position the ID in front of your phone’s camera. The ID will scan automatically.
Removing glare from the ID will give the best results for scanning. Try positioning it without light behind you or in reduced lighting. - The captured ID details will display on-screen, tap Confirm and Submit Scan.
The ID details will be sent to your OnLocation account and will display in a pop-up on your PC screen. If you need to re-scan the ID, tap Back in the top-left corner and start over.
Sign in a visitor
On completion of scanning your visitor’s photo ID and sending the data to your OnLocation account, you can use the captured data to sign in visitors. Visitors can be signed in as:
- A new visitor
- A pre-registered visitor
- The captured ID details can be added to an already signed in visitor
Sign in a new visitor
From the OnScan ID pop-up in OnLocation:
- Click Sign In New Visitor.
- You will be taken to visitor sign-in in Sign In/Out Manager and the captured photo ID details will be pre-populated. Click through the tabs to enter the remaining visitor details.
- (Optional) In the Identity Verification tab, click Edit Details to edit or add ID information. Edit any required details, then click Finish Editing.
To re-enter all information from the scan, click Clear Scan, re-scan the ID, and the details will be added to the visitor you are viewing. - Click Sign In. Your visitor is now signed in.
Sign in a pre-registered visitor
From the OnScan ID pop-up in OnLocation:
- Click the search bar below the scan of the ID card.
- Begin typing the visitor’s name, results will appear after entering three letters. This search field returns both pre-registered and currently on-site visitors.
- Click the pre-registered visitor’s name.
- Click Next. You will be taken to the visitor sign in with all pre-registered information and scanned ID details.
- Enter any additional details that were not populated from the scanned or pre-registration.
- Click Save Visitor.
Add ID details to an on-site visitor
From the OnScan ID pop-up in OnLocation:
- Click the search bar below the scan of the ID card.
- Begin typing the visitor’s name, results will appear after entering three letters. This search field returns both on-site and pre-registered visitors.
- Click the on-site visitor’s name.
- Click Next. The visitor’s details will appear in a pop-up with the scanned ID details.
- Verify the information is all correct.
- Click Sign In.