In addition to sending guest arrival notifications via email, text, and push notifications, you can use webhooks to alert your employees in Slack.
To send a guest arrival notification to your employees using Slack, you will need active Zapier and Slack accounts to configure this integration.
This process involves two different systems across four steps, each step will note which system you need to be working in.
Step 1: Create a webhook URL in Zapier
To get started you need to create a webhook URL in your Zapier account for OnLocation to send information to.
Log into your Zapier account, then:
- Click Make a Zap!

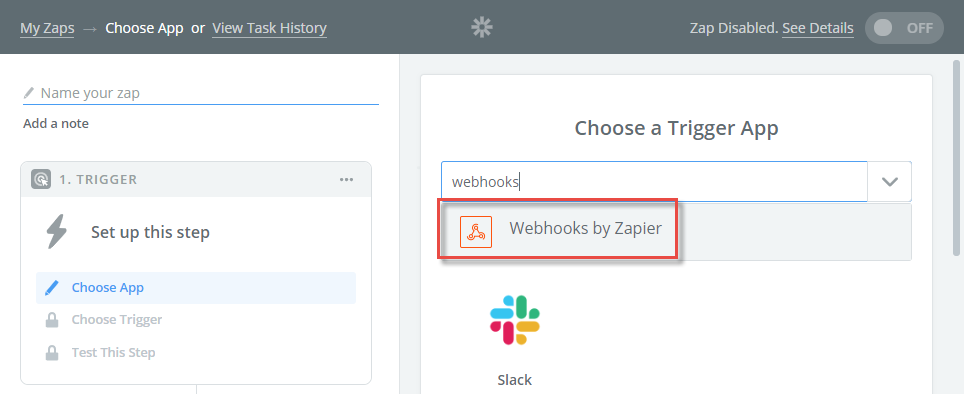
- Select Webhooks by Zapier as your Trigger App.
- Select Catch Hook.
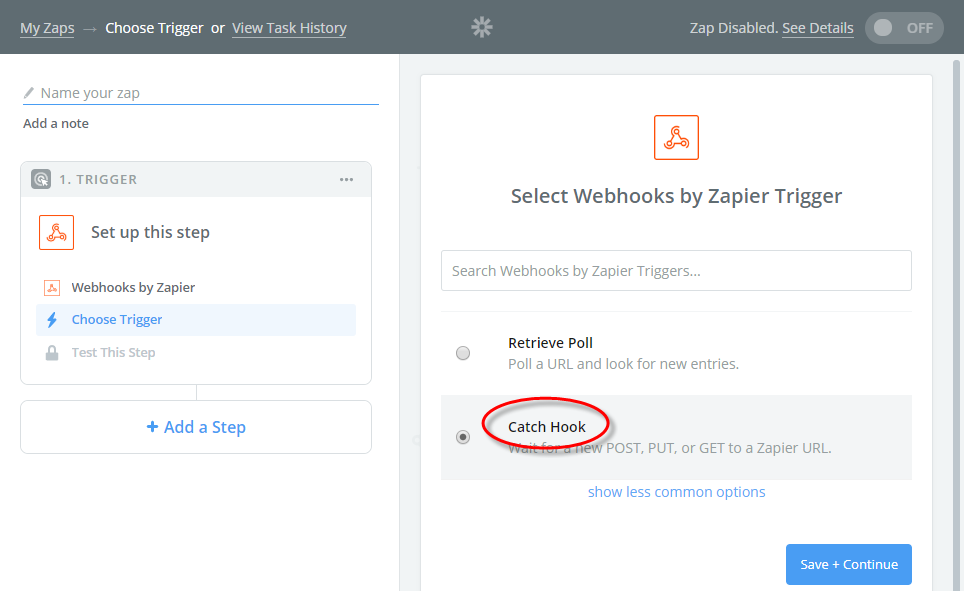
- Click Save + Continue.
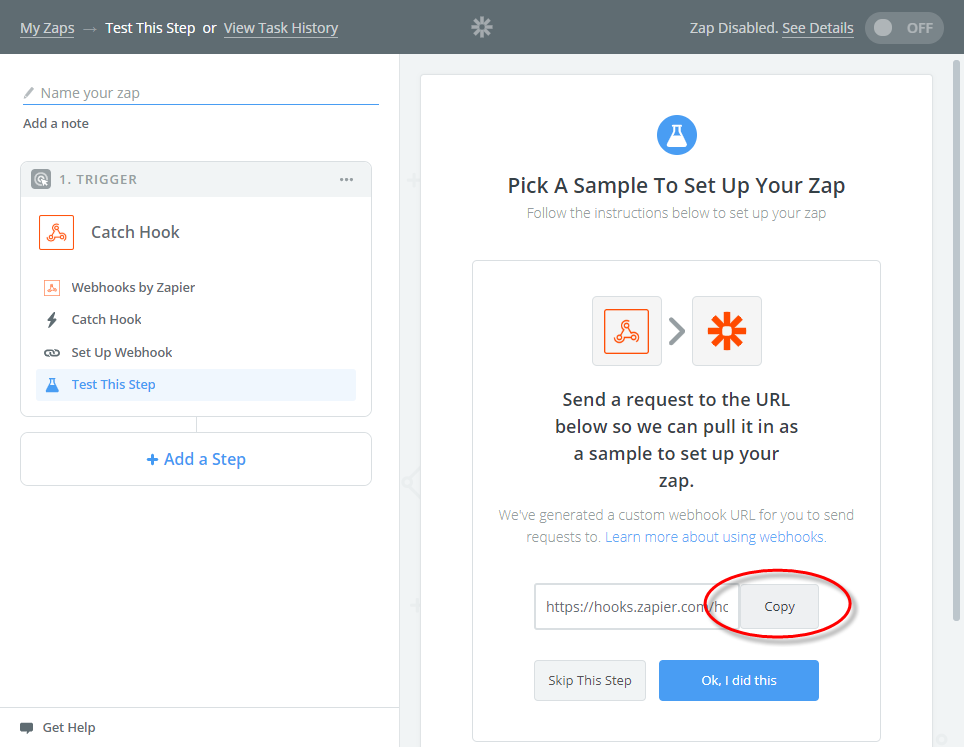
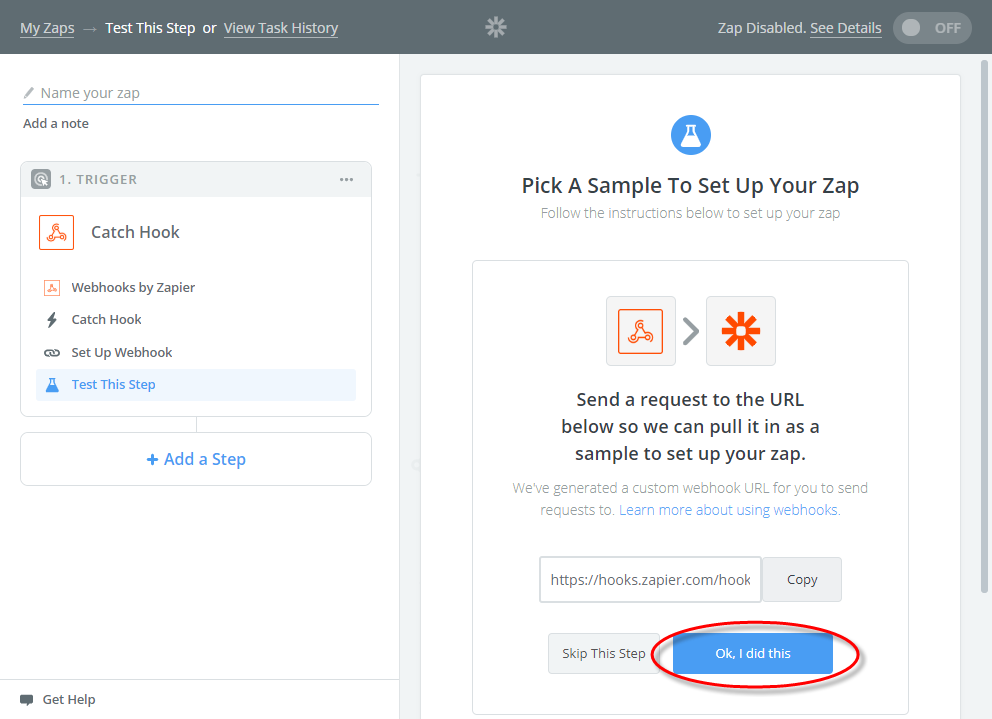
This will generate the URL where data will be sent from OnLocation. Click Copy next to the URL to easily paste it into OnLocation.
Step 2: Add the webhook URL in OnLocation
Now you have your webhook URL, you need to add it into your OnLocation account as a destination to send data.
Log into OnLocation as the Account Owner or IT Support user, then:
- Go to Tools > Accounts.
- Select Integrations from the left-hand menu.
- Select the Webhooks integration.
- Click Settings.
- Click Create a New Webhook.
- Add the Webhook Name.
- Enter the Webhook URL (you should be able to paste this from your copied URL in Zapier).
- Select the 'Method' POST.
- Select the 'Content Type' JSON.
- Click Save.
Step 3: Create a Webhook Trigger
Now that we have added the webhook URL to your OnLocation account you can set up a trigger to tell the system where and when to send data.
In OnLocation:
- Go to Locations, then select the location from the drop-down list.
- Select Triggers.
- Click Create a New Trigger.
- Enter a Trigger Name.
- Set the 'Trigger Status' to Active.
- Set the 'Trigger Event' to Visitor Sign In.
- Click Next.
- (Optional) Enter any 'Trigger Rules' that you may want to narrow down when OnLocation will send the arrival notification through Slack.
- Click Next.
- Click Create a New Action.
- Select Webhook – Triggers a Webhook URL from the drop-down menu.
- Select your Zapier webhook from the drop-down menu.
- Select the 'Data mode' as Full.
- Click Preview.
- Select a record from the drop-down menu to test the webhook with.
- Click Send Data.
Information should be presented under the Response Data including {"status": "success"… This means the test has worked. - Click Save & Close.
Step 4: Create the Action to Find User in Slack
Now your trigger is set up it will start sending visitor data to Zapier whenever a visitor signs in, depending on your trigger rules. The next step is to tell Zapier how to find the employee in Slack.
In Zapier:
- Click Ok, I did this.
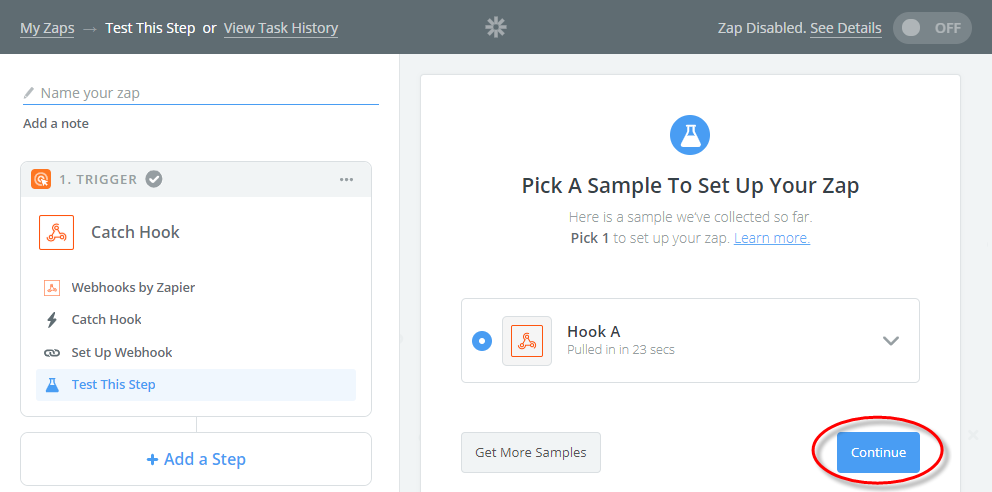
You will be able to review the data that was sent to Zapier in your test. - Click Continue.
- Click the Your Zap currently lacks an Action step. Add one now! link.

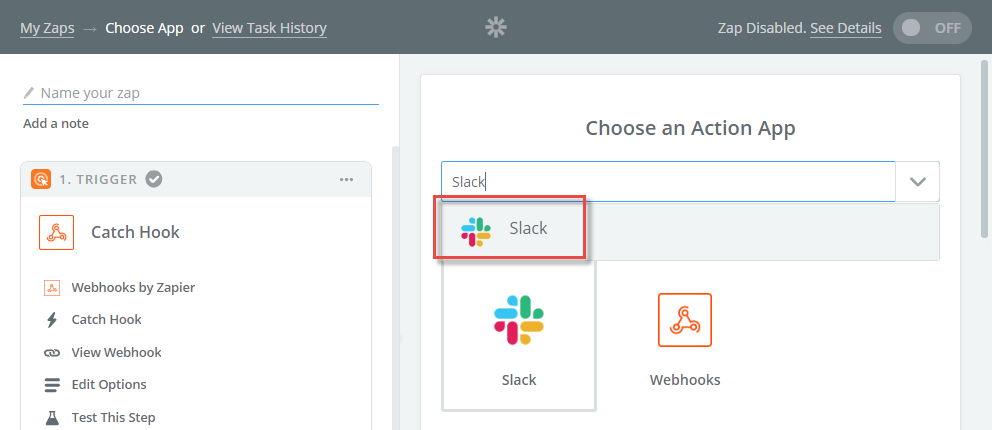
- Search for Slack and select it.
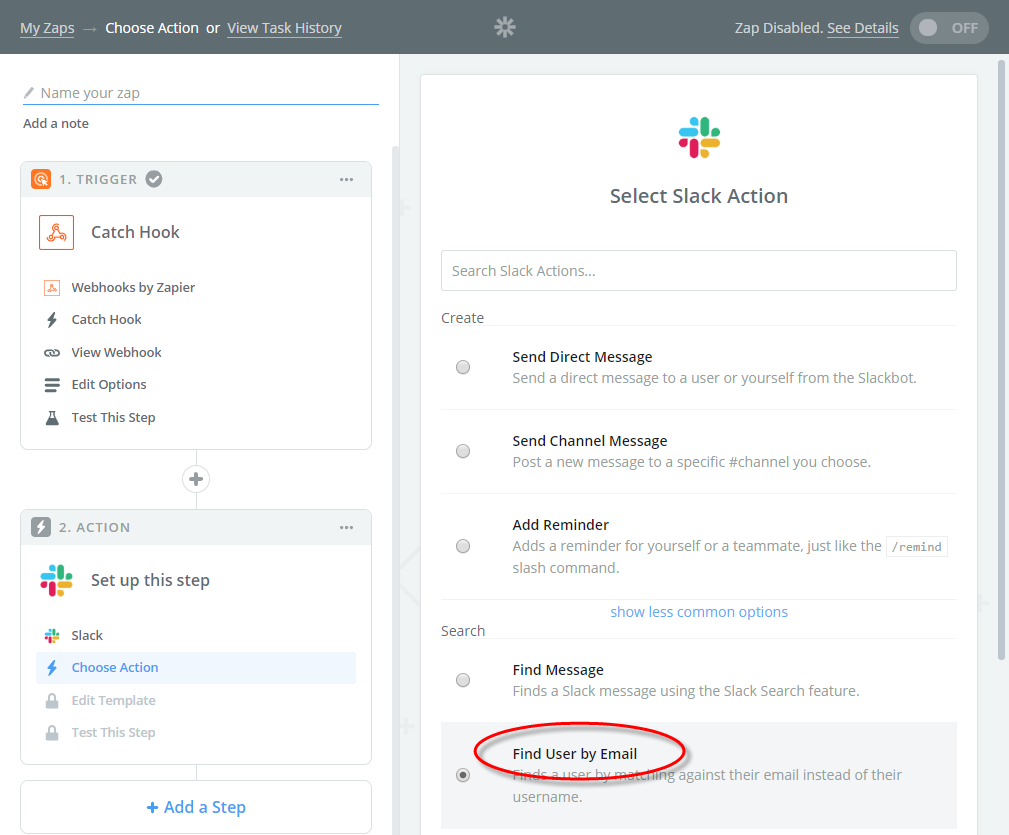
- Select Find User by Email.
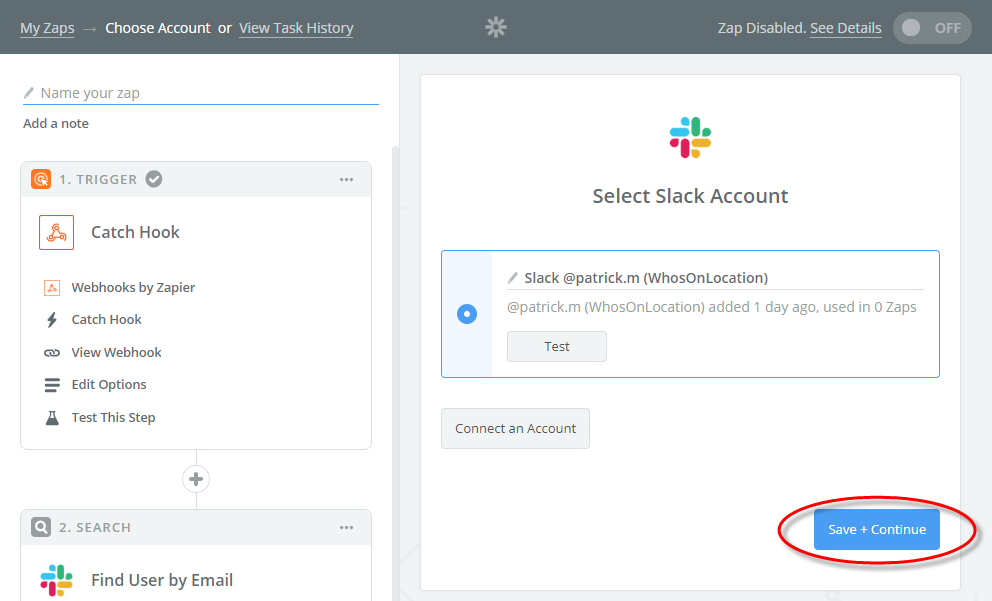
- Click Save + Continue.
If you have a Slack account already connected to Zapier, you can choose this and skip to step 12. - Otherwise, click Connect an Account.
A new window will open to your Slack login. - Enter your workspace URL.
- Click Continue.
- Sign into your account.
- Click Authorize.
You will be taken back to the Zapier window. - Click Save + Continue.
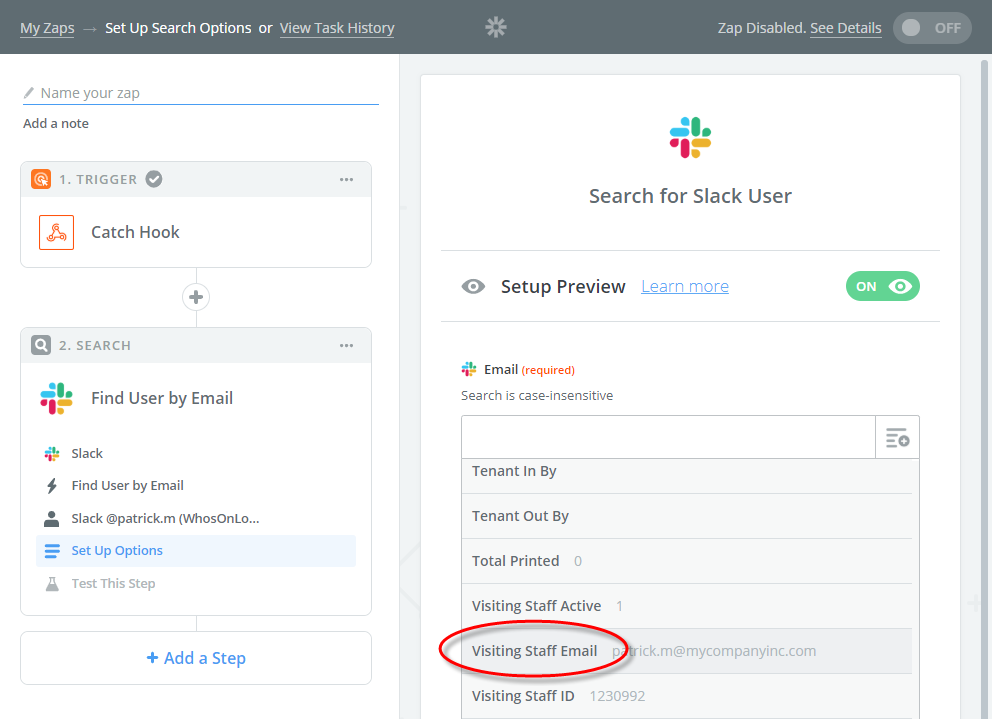
- Next to the email field, click the Insert a Field button.
- Select Visiting Staff Email.
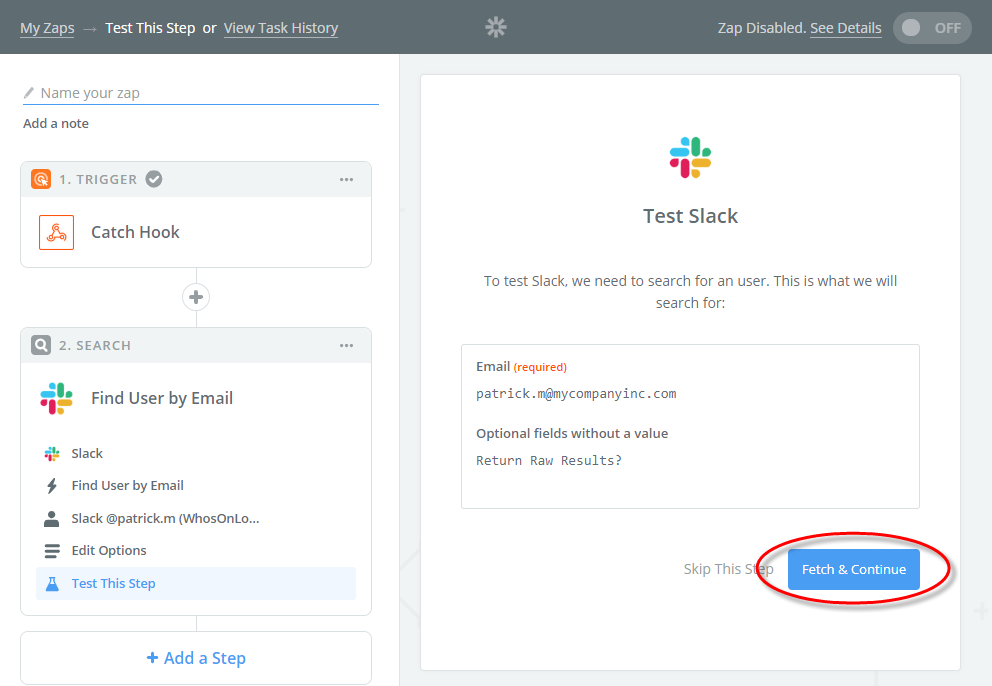
- Click Continue.
- Click Fetch & Continue.
Step 5: Create the Action to Send a Slack Message
Now Zapier knows how to find employees in Slack, it needs to be told what to send to Slack when a visitor arrives.
In Zapier:
- Click Add a Step.
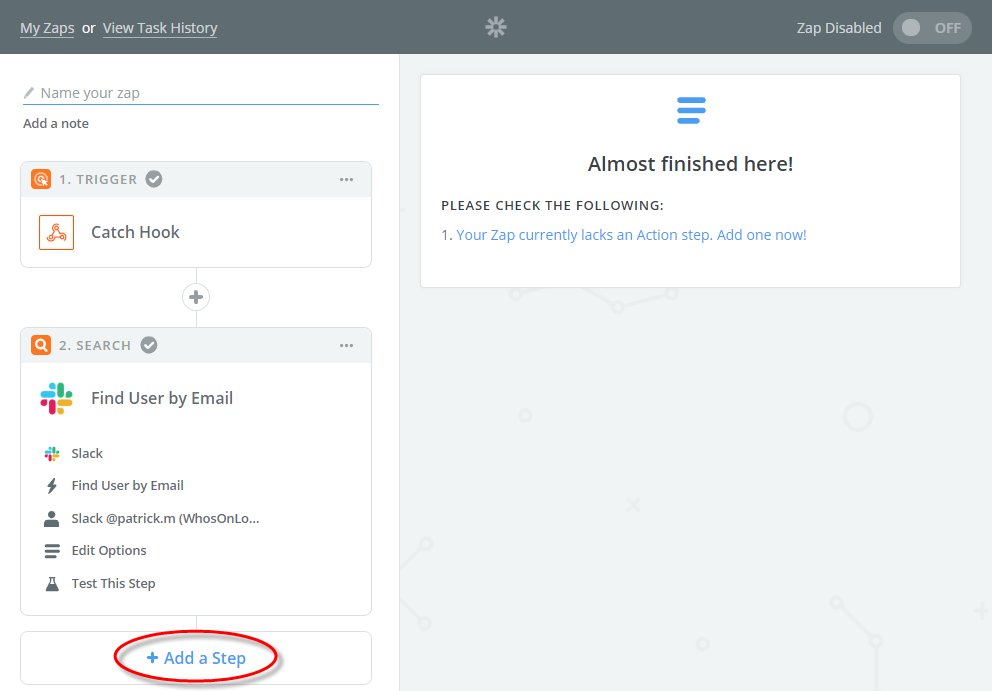
- Select Slack.
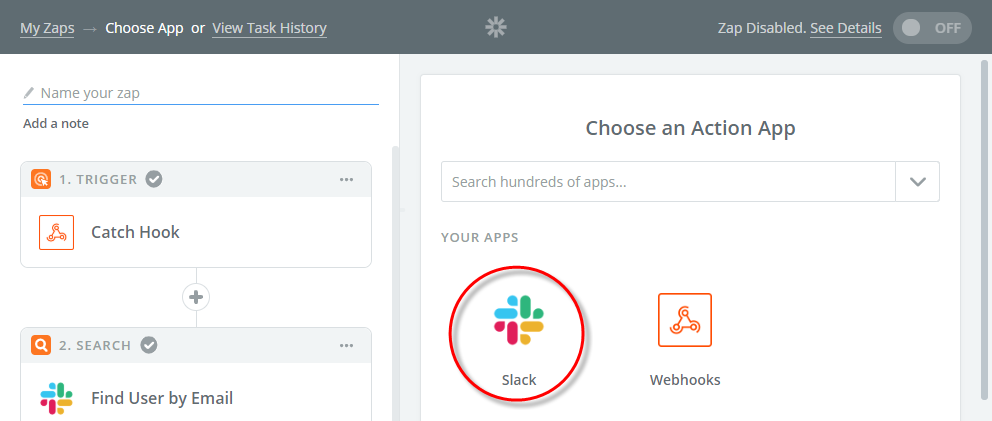
- Select Send Direct Message.
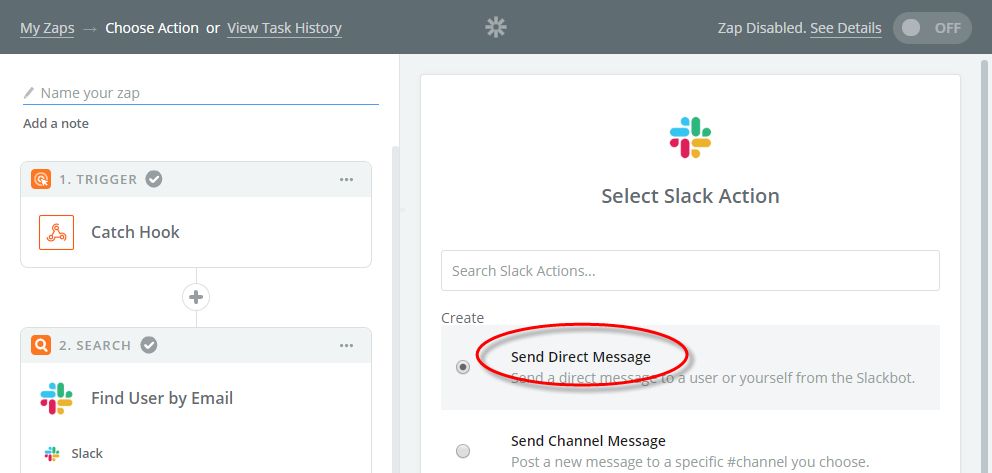
- Click Save + Continue.
- Select your Slack account.
- Click Save + Continue.
- Under 'To Username' scroll to the bottom of the drop-down menu and select Use a Custom Value (advanced).
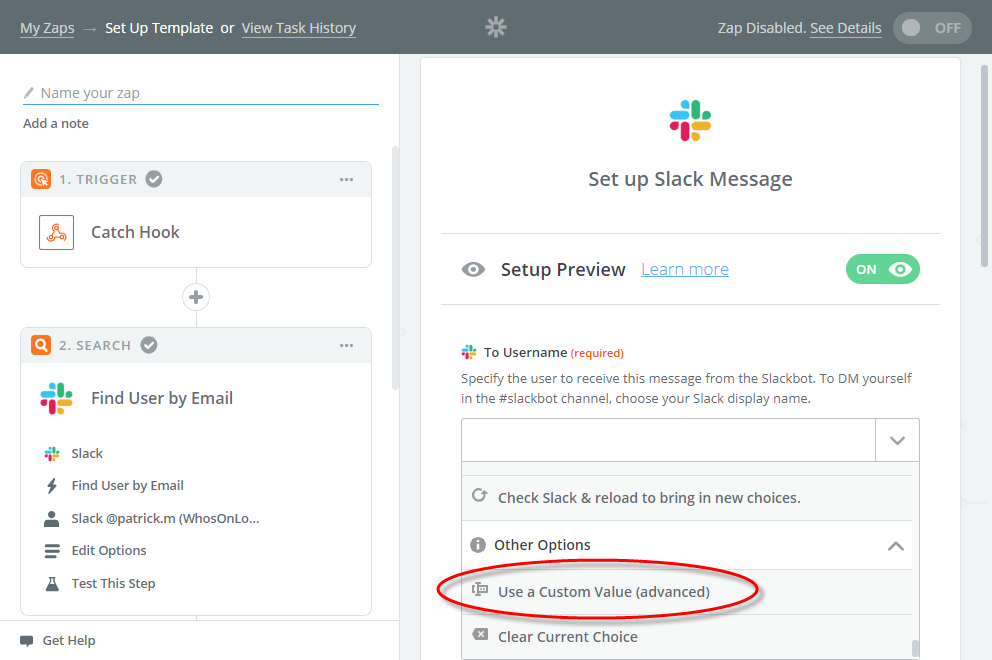
- Next to the 'Custom Value for To Username ID' field click the Insert a Field button.
- Select Find User by Email > ID.
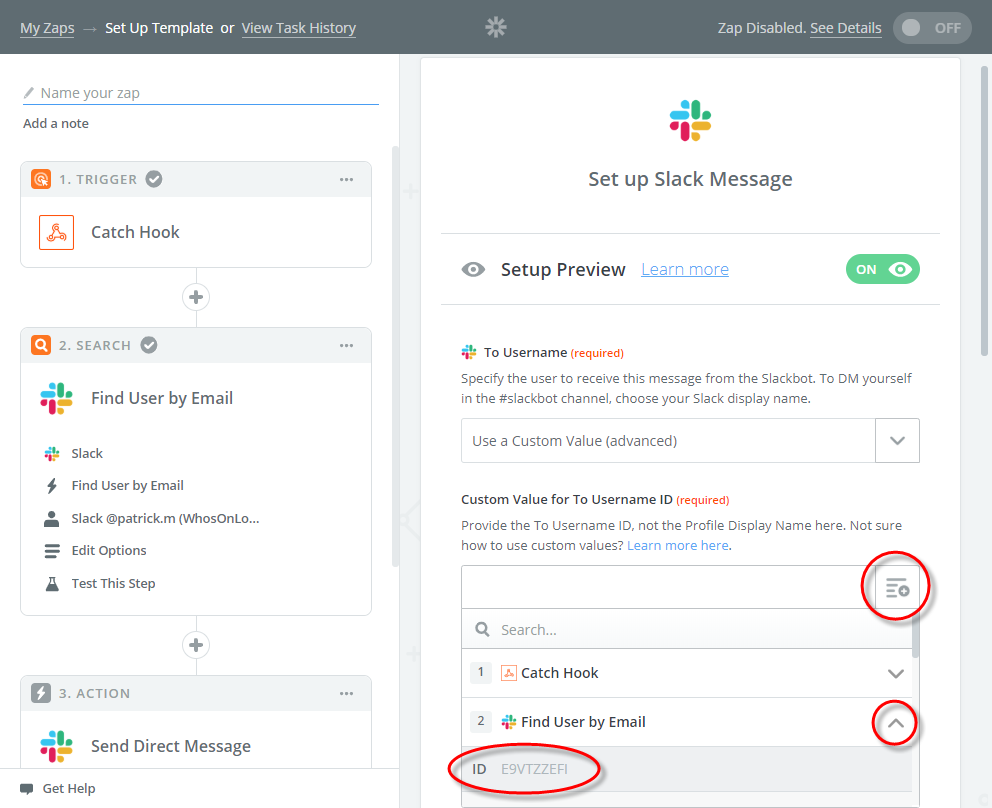
- Under Message Text enter the notification to be sent through Slack using the placeholder fields to insert dynamic information about the visitor. For Example:
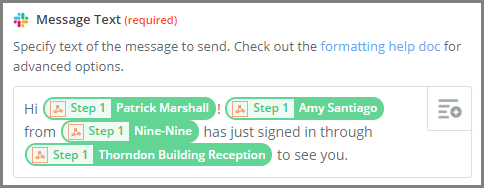
- Enter any optional information you want.
- Click Continue.
- Click Send Test To Slack to ensure it’s all working.
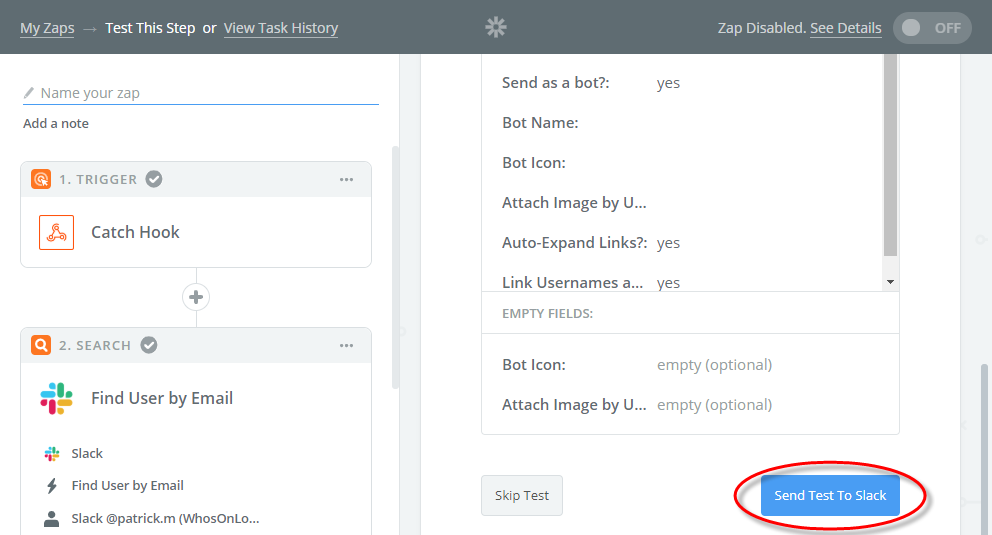
- Click Finish.
- Enter a Name.
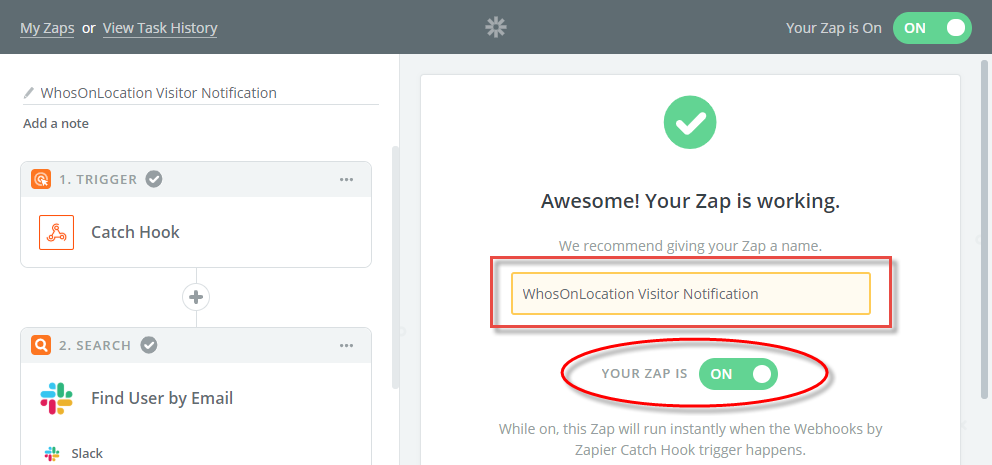
- Set 'Your Zap Is' to On.
