About custom fields for contractors
Customize the information stored in your contractor organizations and member profiles by adding custom fields to your account.
You can also update the data access permissions in the Contractor Portal so that only some fields can be viewed or edited by portal users.
Before you can start, custom fields must be enabled as an add-on for your account
Add custom fields or tabs
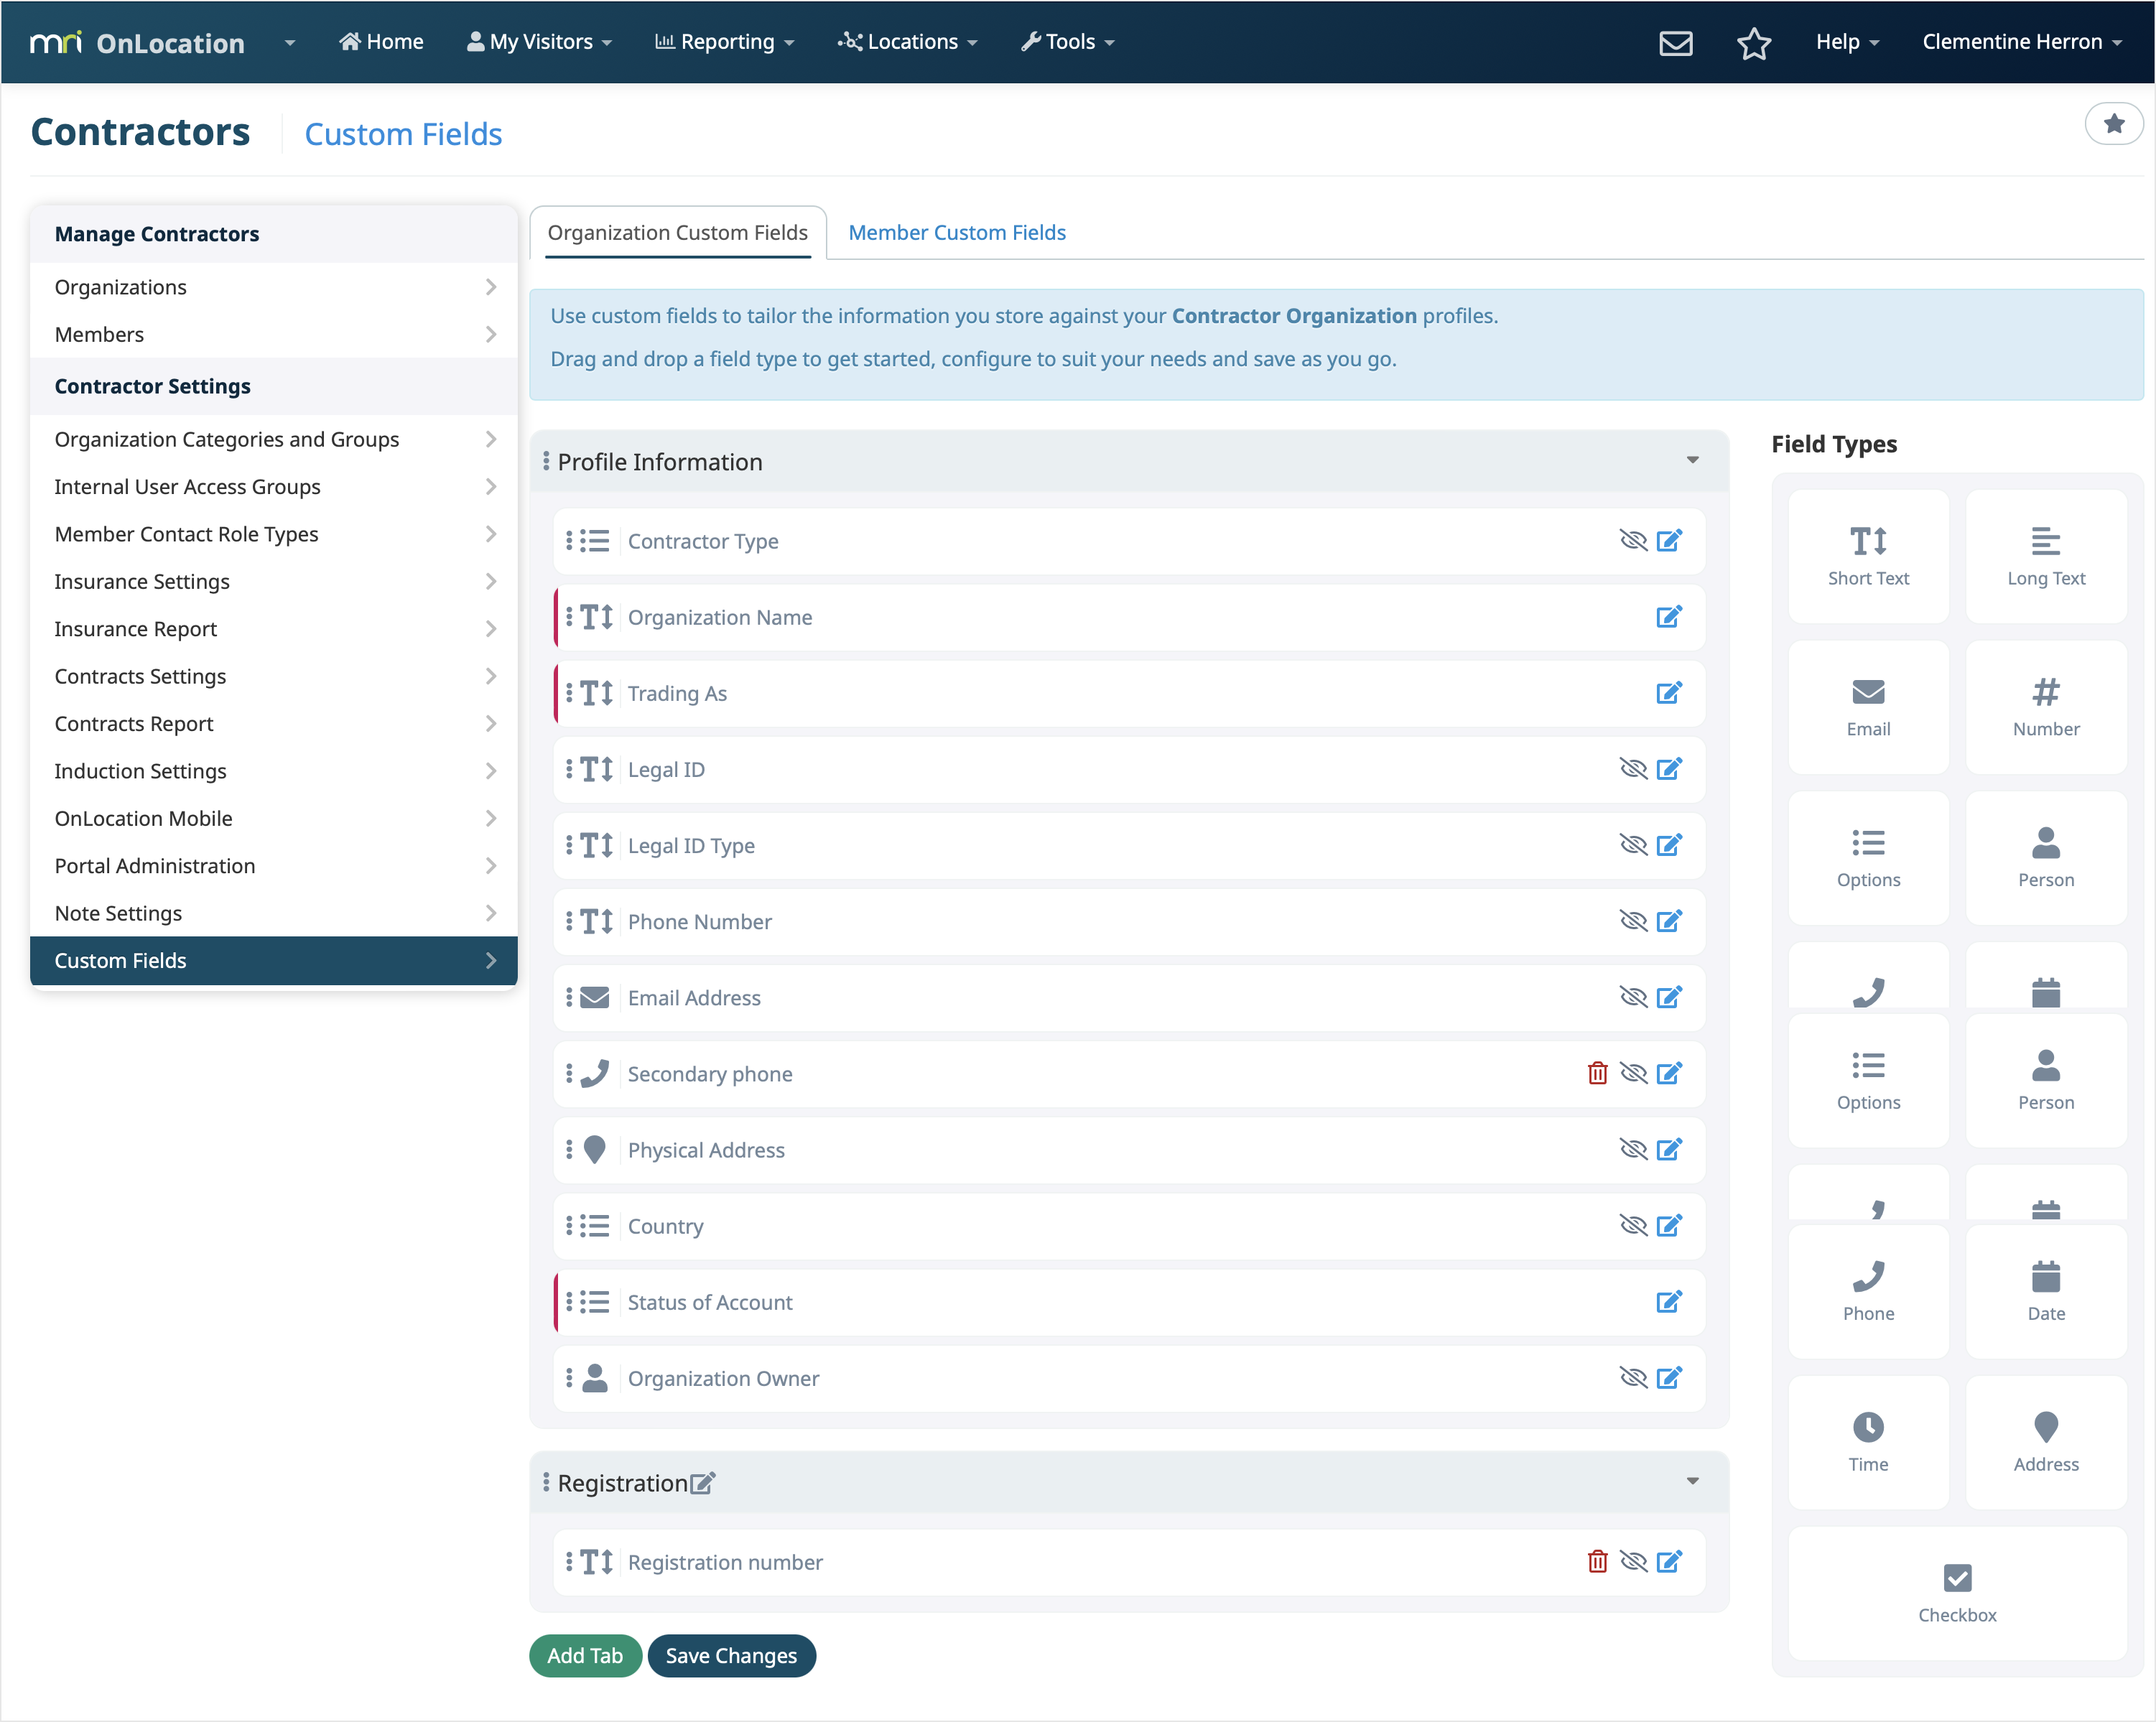
To add custom fields for contractors:
- Go to Tools > Contractor Manager.
- Select Custom Fields in the left-hand menu.
- Stay in the Organization Custom Fields tab or select the Member Custom Fields tab.
- Under Field Types, click on a field then drag and drop it into the tab. Repeat for each field you need.
- For each custom field, add a description in the Details field, then select the checkboxes if it is mandatory and/or unique. Click Save.
- (Optional) Click Add Tab if you’d like to group the fields in separate tabs.
- (Optional) Enter a tab name, then click the checkmark.
- (Optional) Click on the icon to the left of the tab name to drag it into position.
- (Optional) Click and drag the required fields into the new tab. Update the field details and click Save.
- Click Save Changes, then click Ok to confirm.
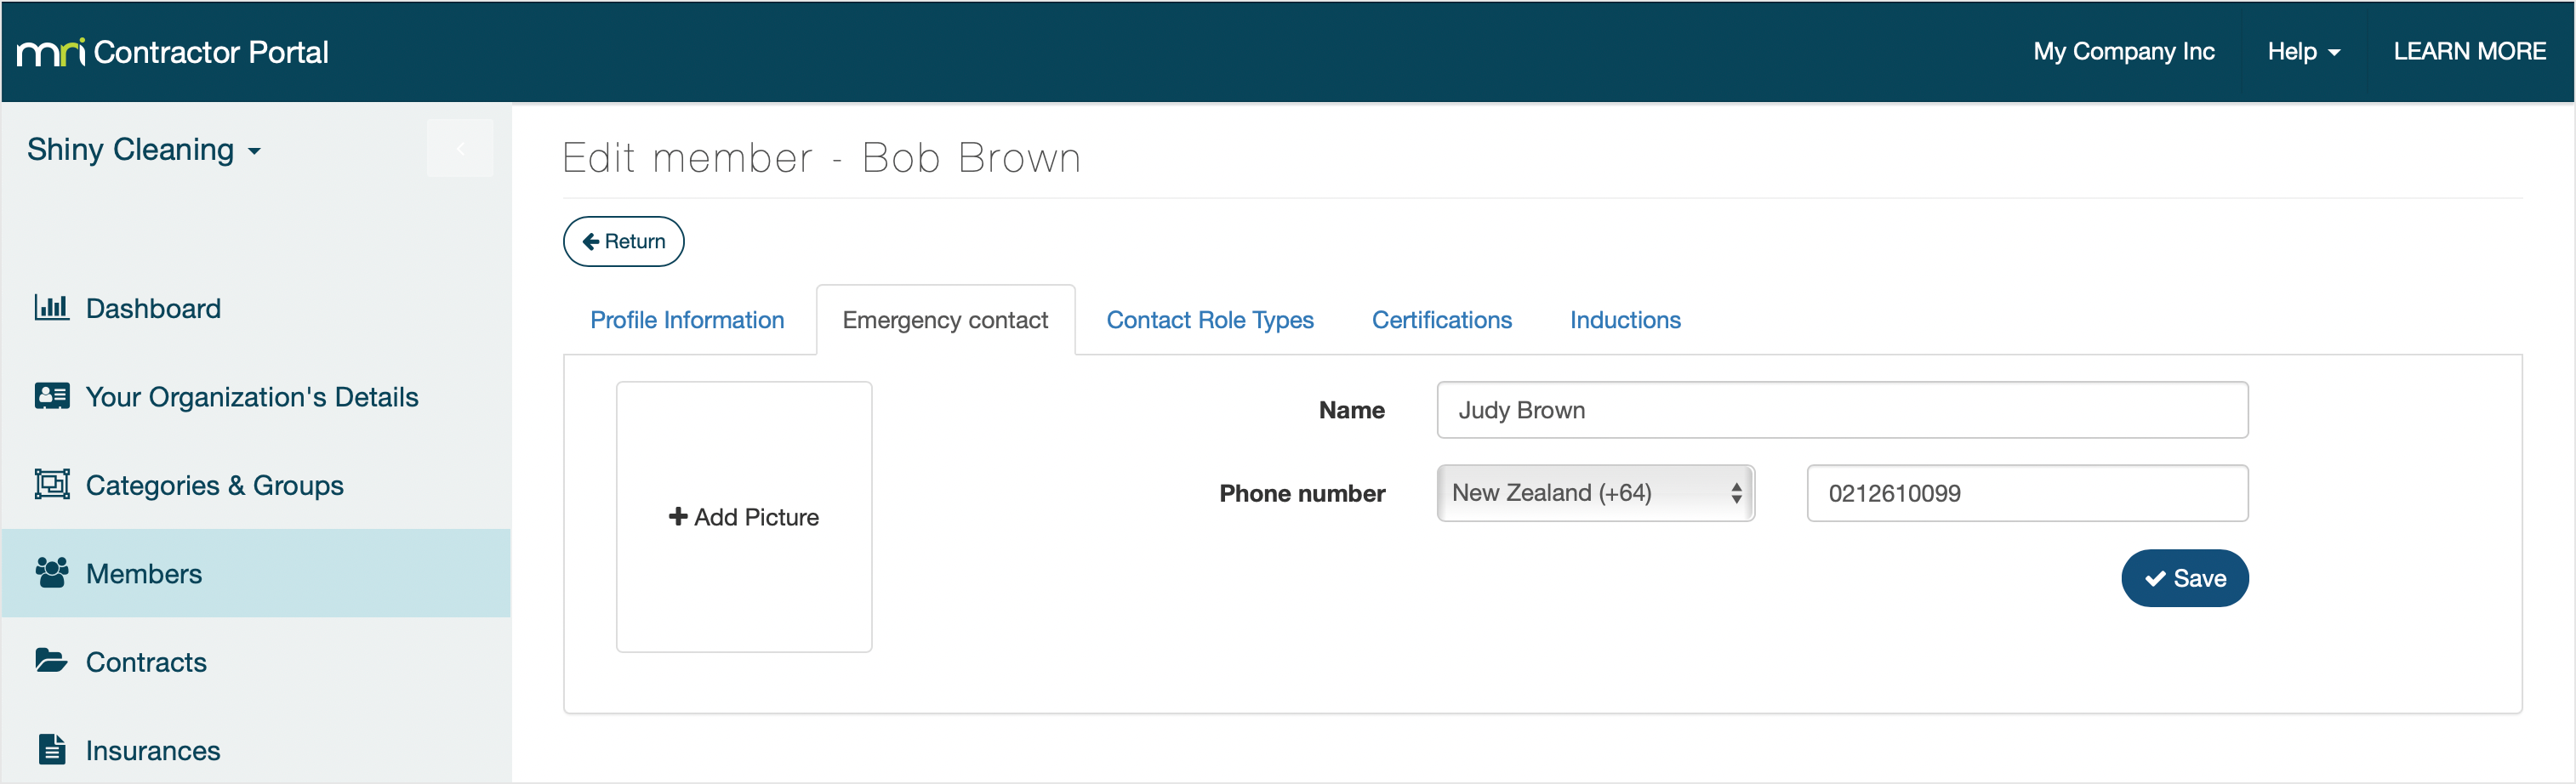
Once you’ve added your fields, you can start working with these fields in your contractor organization profiles or member profiles. 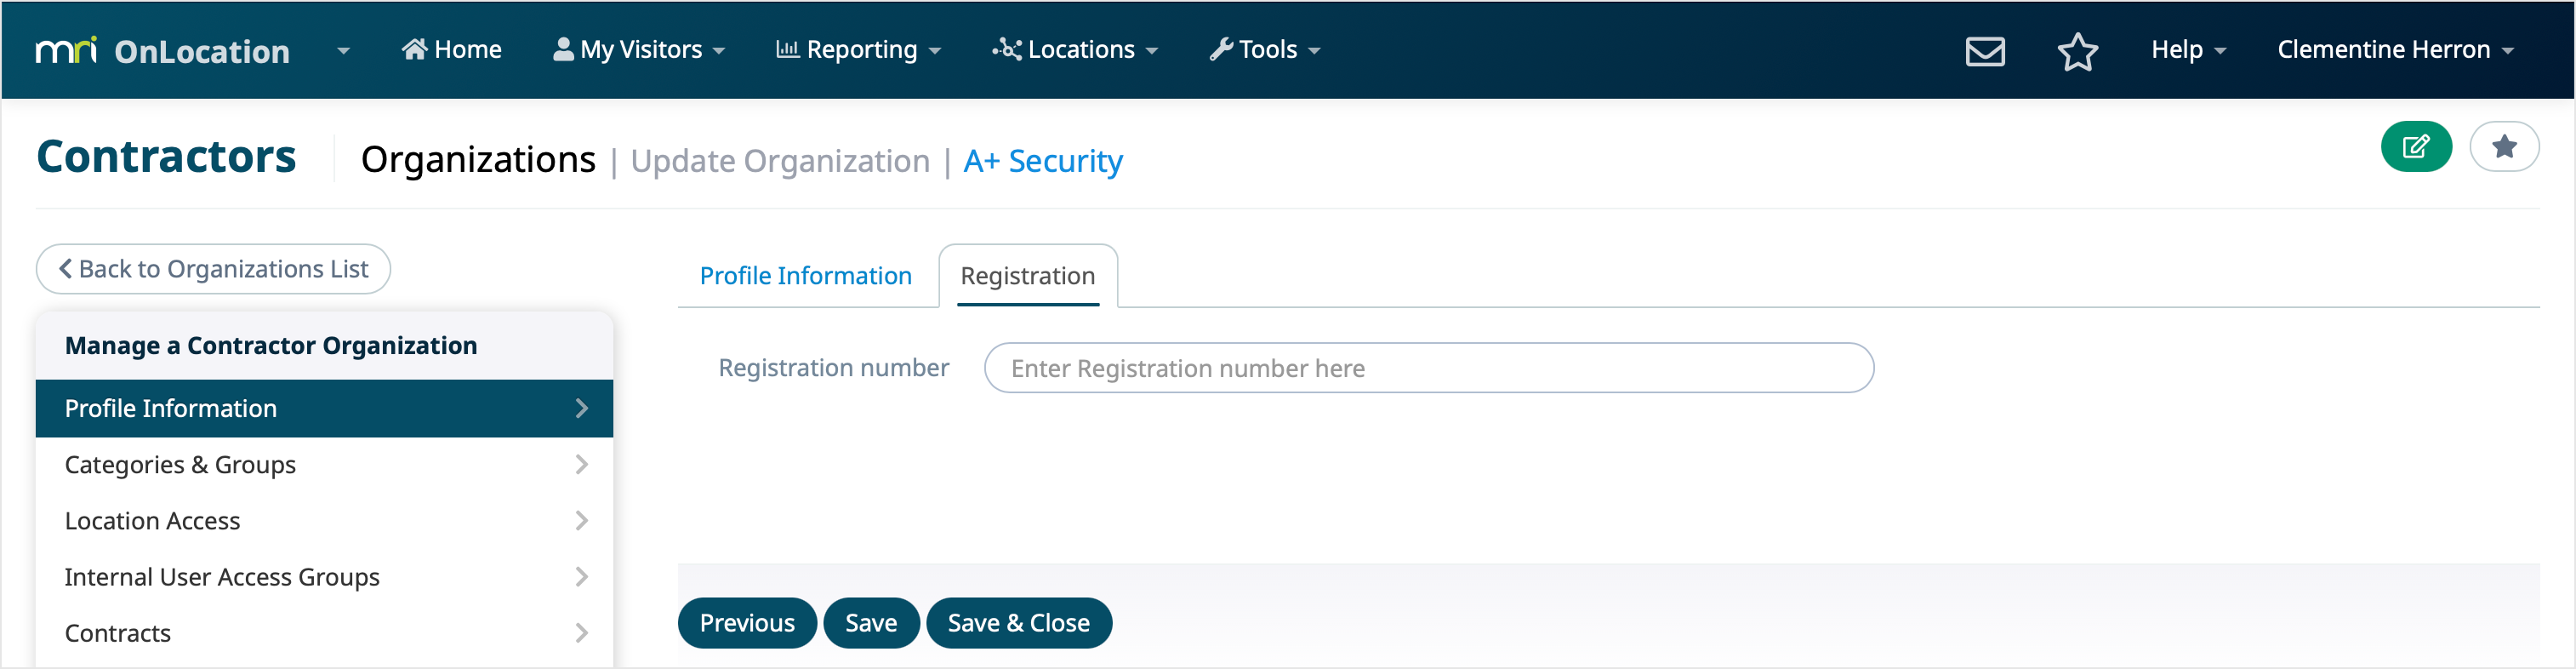
Manage Contractor Portal user permissions
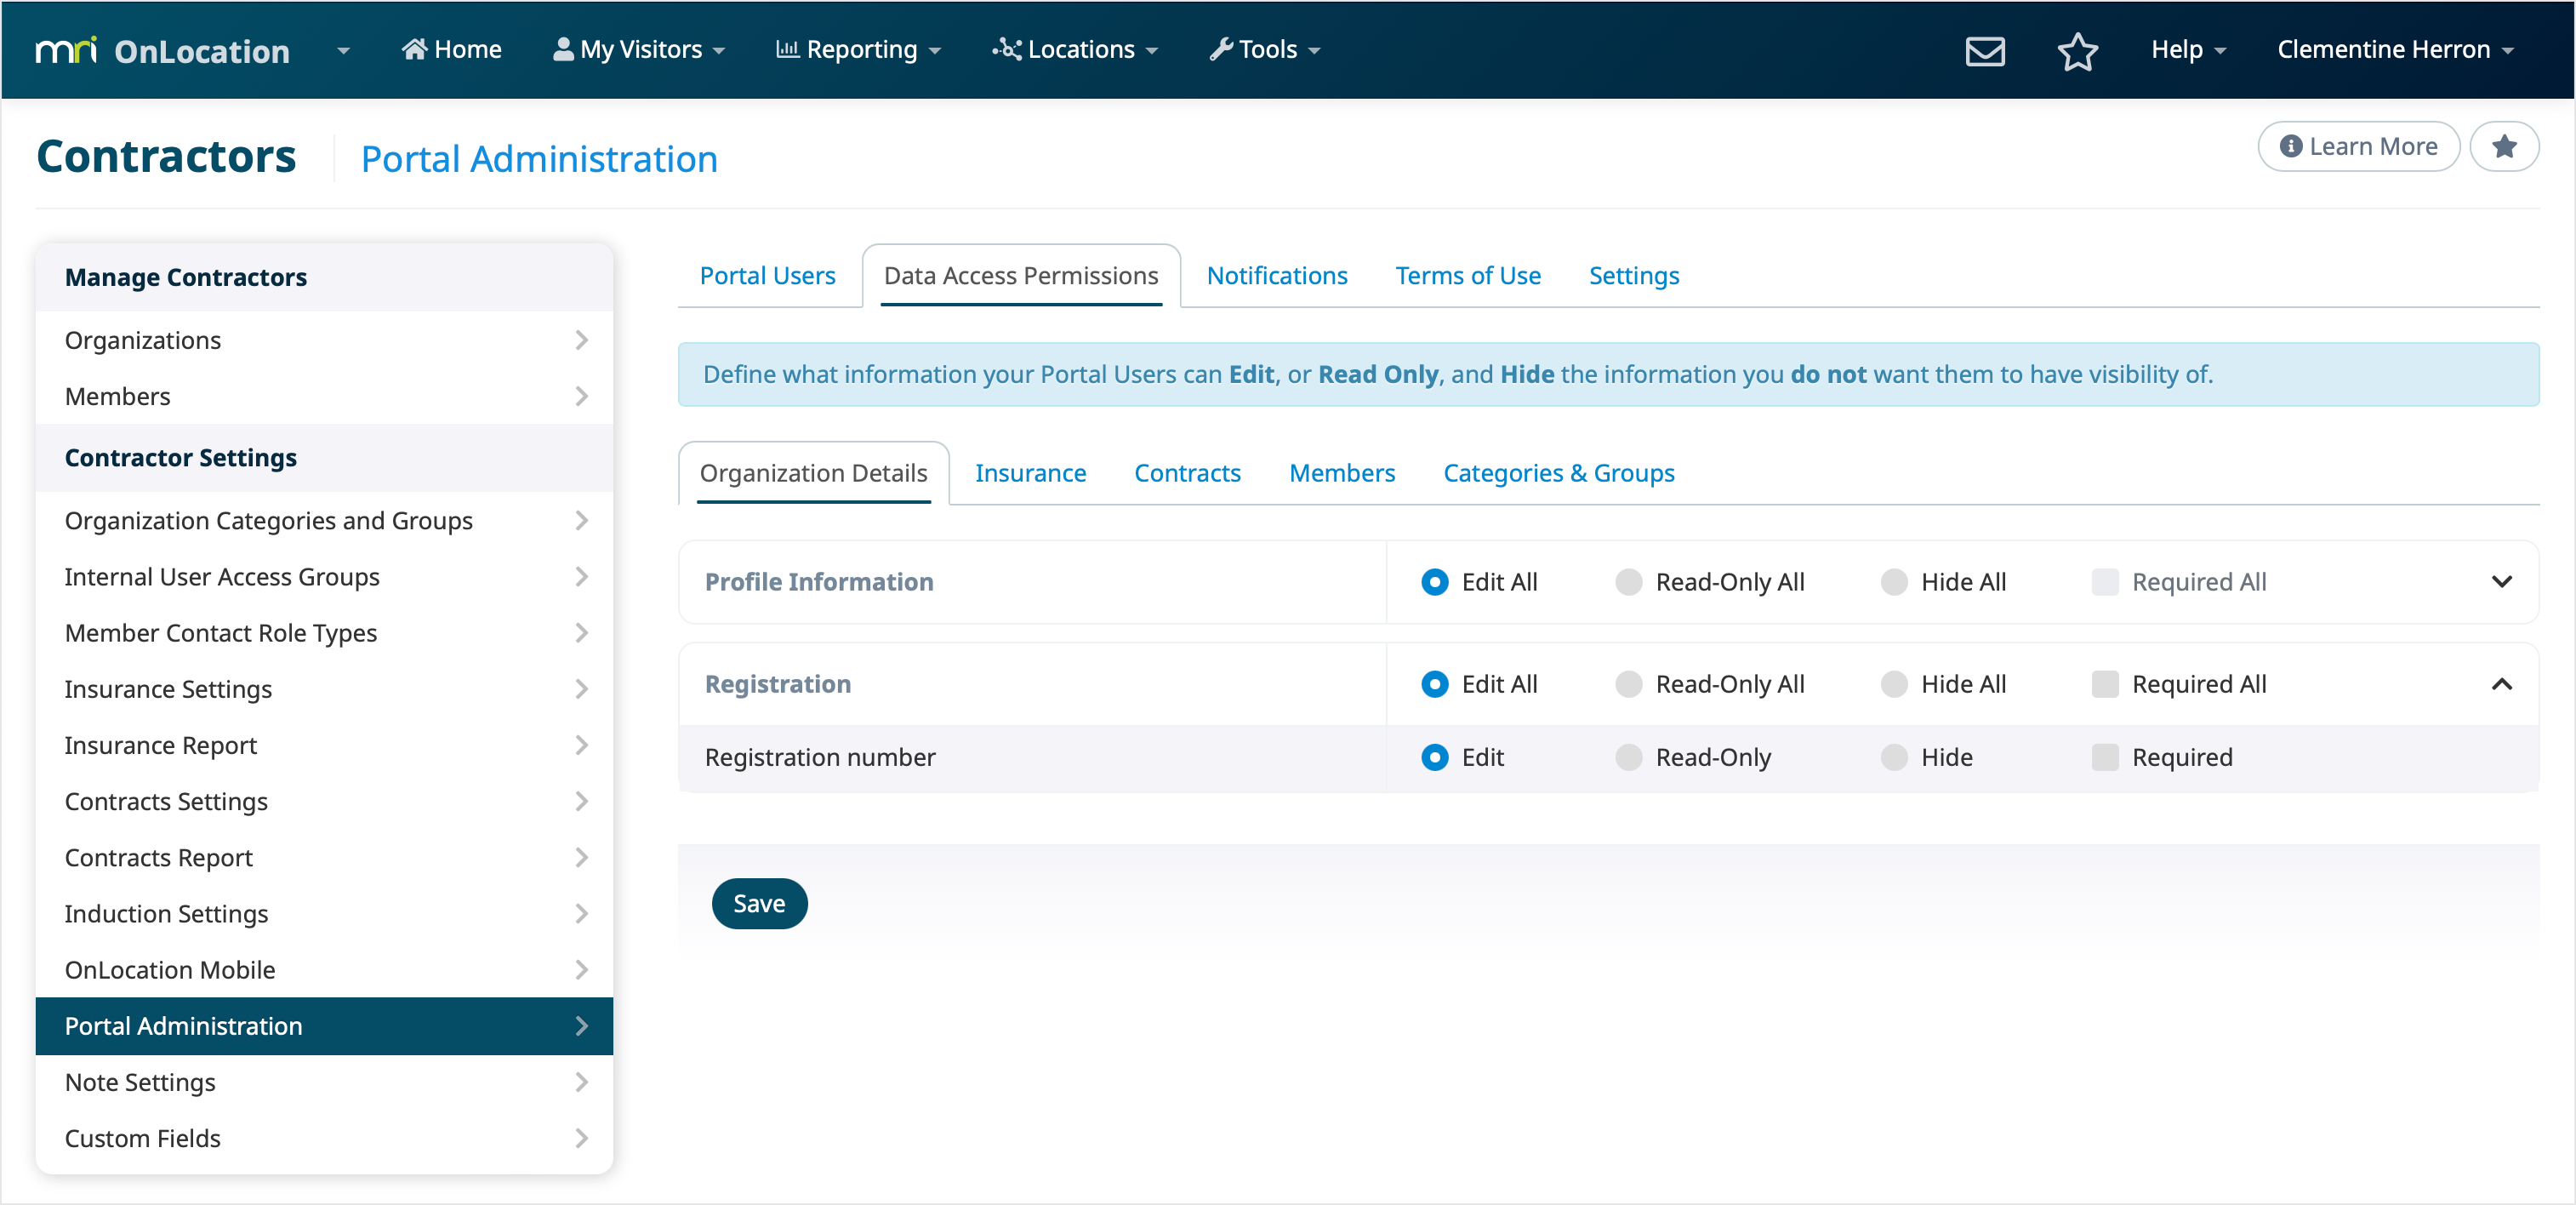
Choose what data access permissions portal users have for custom fields.
These permissions are fully customizable. You can select if you’d like all fields to be Edit All, Read-Only All, Hide All, or Required All. You can also expand each tab and go through each field individually to select the relevant permission.
To set portal user permissions:
- Go to Tools > Contractor Manager.
- Select Portal Administration in the left-hand menu.
- Select the Data Access Permissions tab.
- On the Organization Details tab, click the arrow to the right of each tab to expand all of the fields within it. Choose the settings for each field.
- Click Save.
- On the Members tab, click the arrow to the right of each tab to view all of the fields.
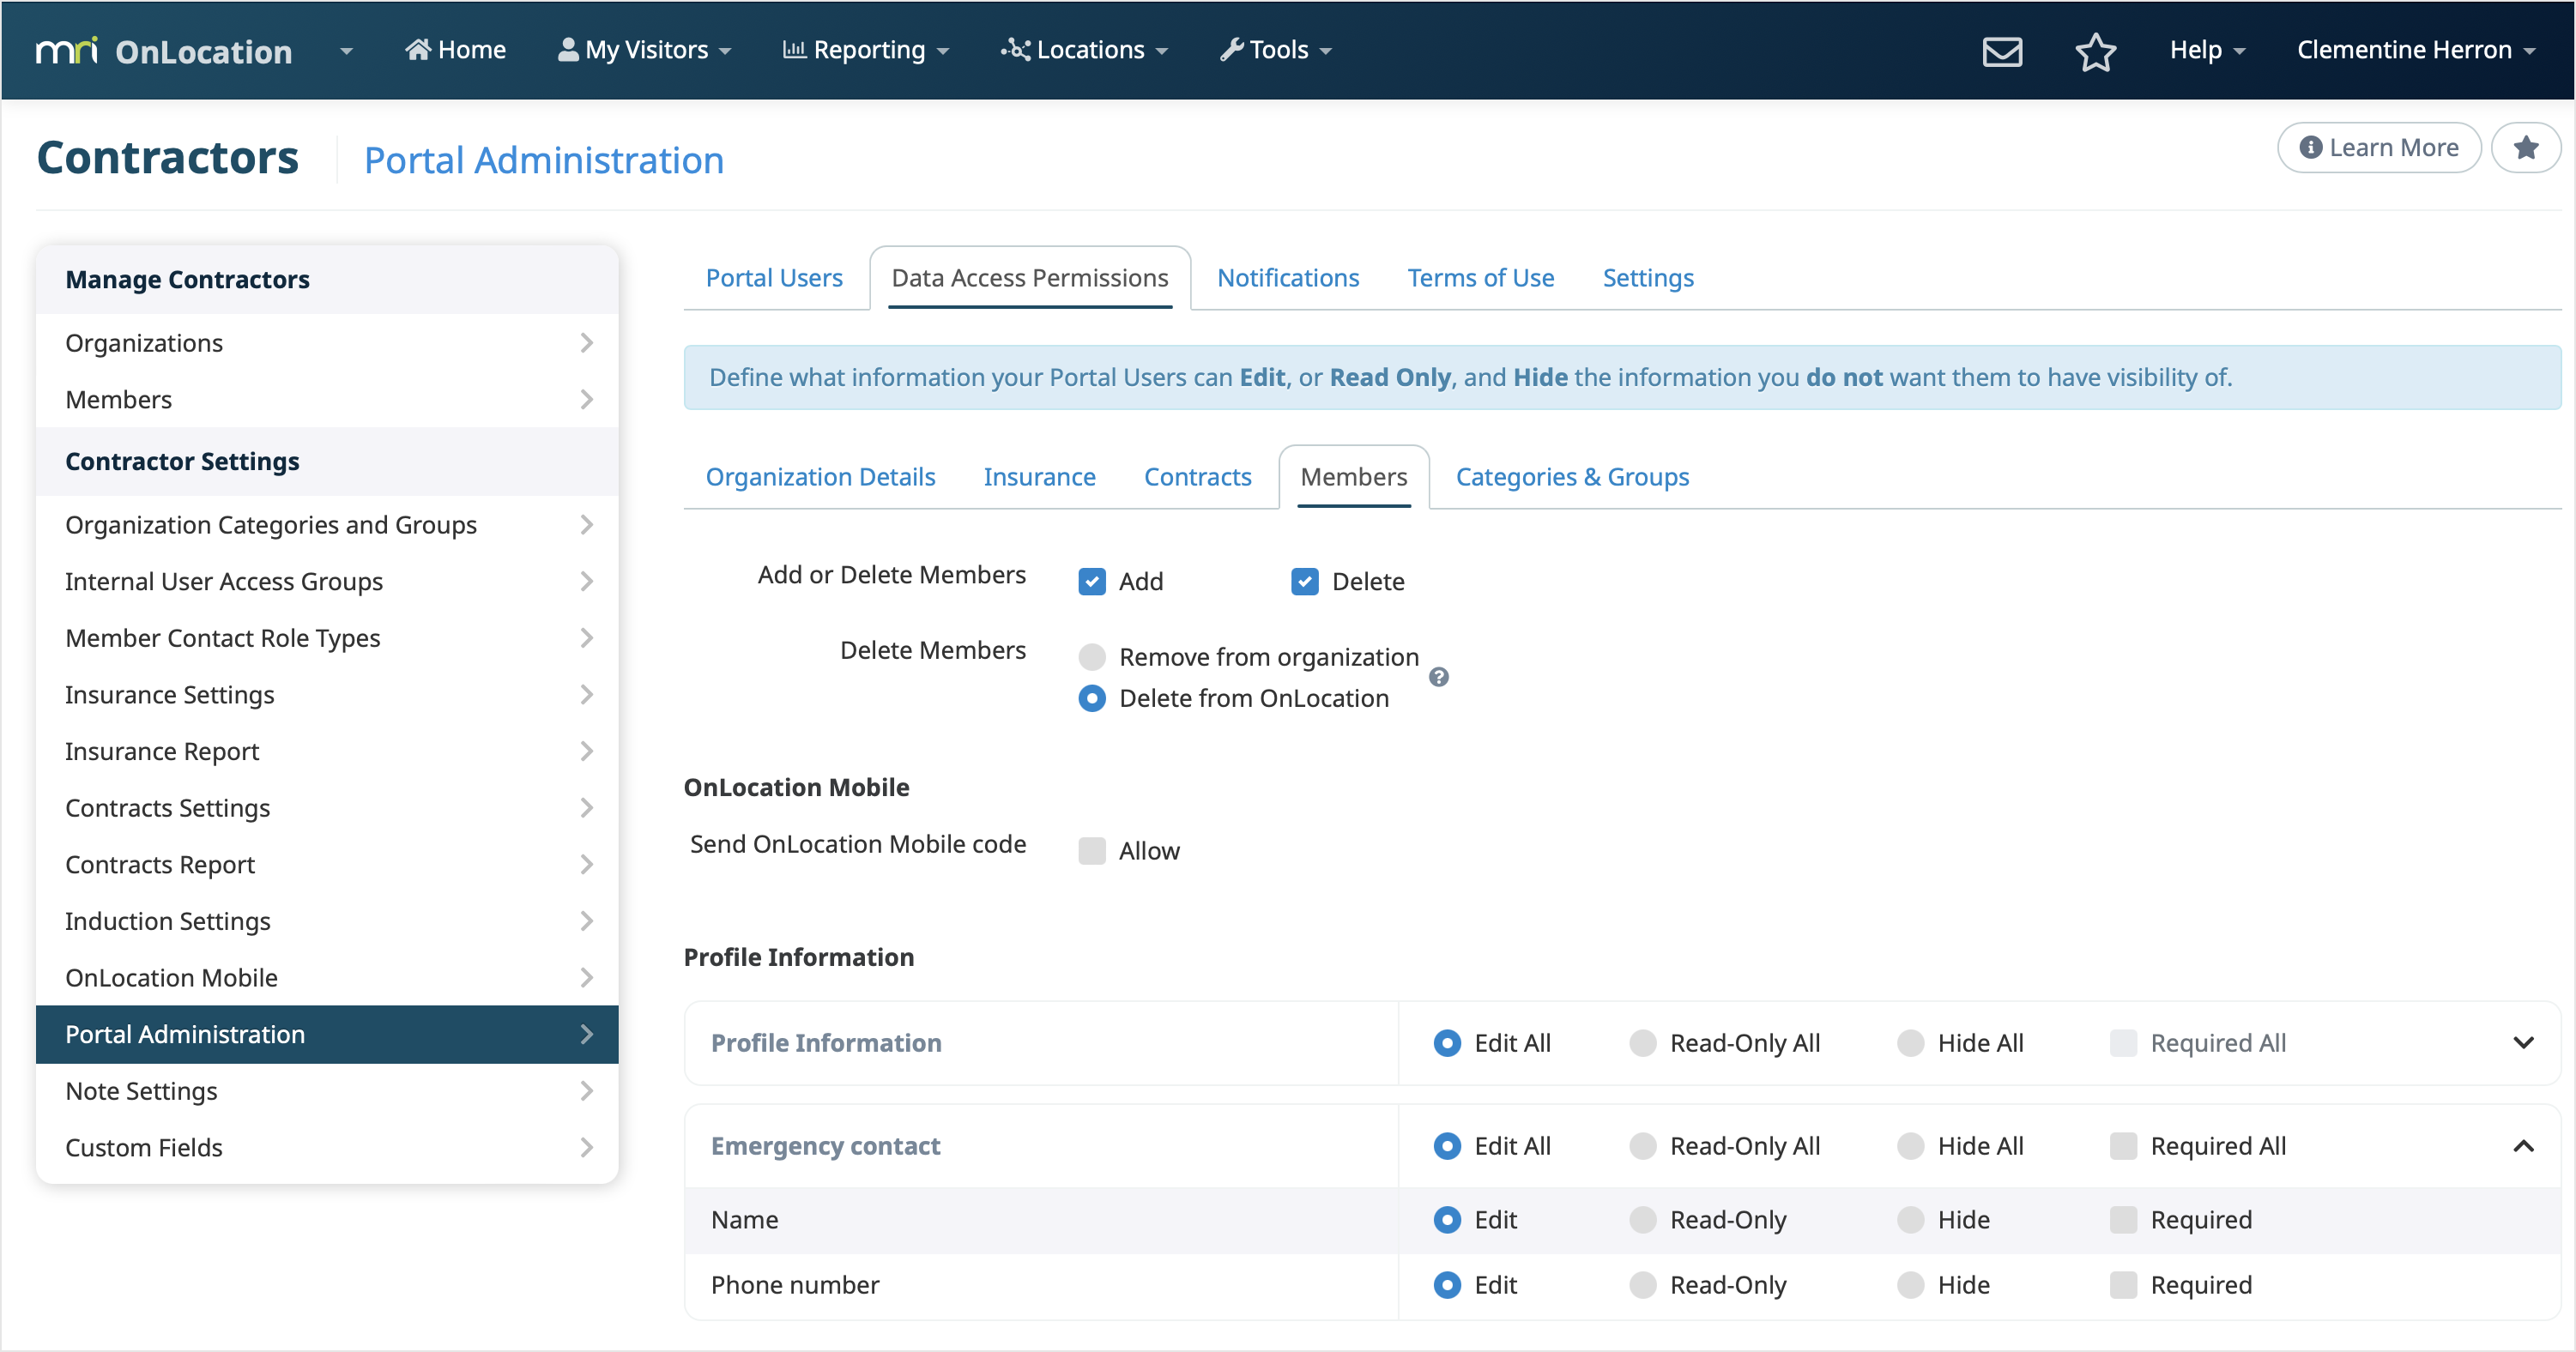
- Choose the required settings for each field.
- Click Save.
Once you’ve saved your changes, the next time a portal user logs in, they will have access to the fields you have given them permission to see and/or edit.