After installing your printer, set the printer preferences to match those of the badge pass template you set up.
Before you start
Install your Brother on the Wi-Fi network or via hardwire by following the install guide that came with the printer. You can download the latest drivers from the Brother website.
If you are installing it for an iPad, this must be done on the same Wi-Fi network as the iPad Kiosk will connect to. We also support direct Brother printing with the IP address or Bluetooth should you have restrictions in place.
Set up the printer
You need to set the Brother printer preferences to match those of the badge pass template you setup:
- Go to the Control Panel.
- Select Devices and Printers.
- Locate your Brother printer.
- Right-click on the printer, then select Printing Preferences.
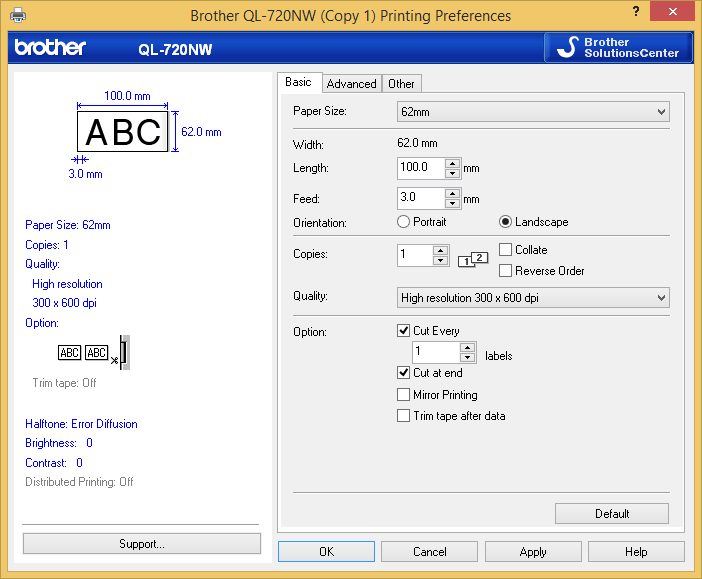
- Set the Paper Size to match the template you set up in your MRI OnLocation Account and make sure the same labels are installed in the printer.
If you are using the #VBRT3 label, you will need to allow extra space for the expiry tab. Please set the label length to 100mm or 3.9”. - Set Orientation to Landscape.
- Set Quality to 300 x 600 dpi.
- Enable Options to Cut at Every ‘1’ and Cut at End. The image below shows settings for a 101mmx62mm badge pass template.
- Click Apply, then click OK.
- To check that the printer is working, right-click on the Brother printer and select Printer Properties.
- Select Print Test Page.
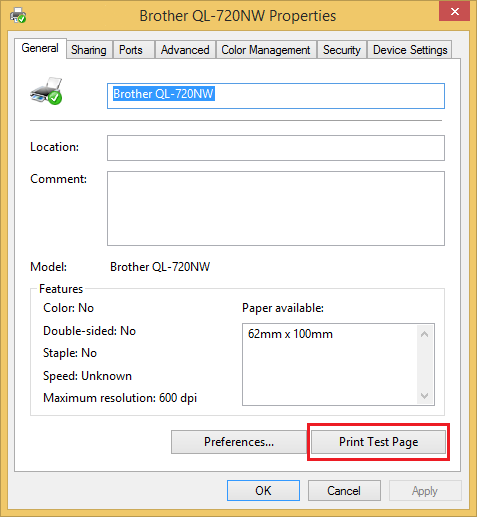
If the printer is installed correctly the printer should print out a test label. If it does not, recheck that the labels are installed in the printer, also that the printer is turned on, and the USB cable is connected.